Creating a “Hidden door”
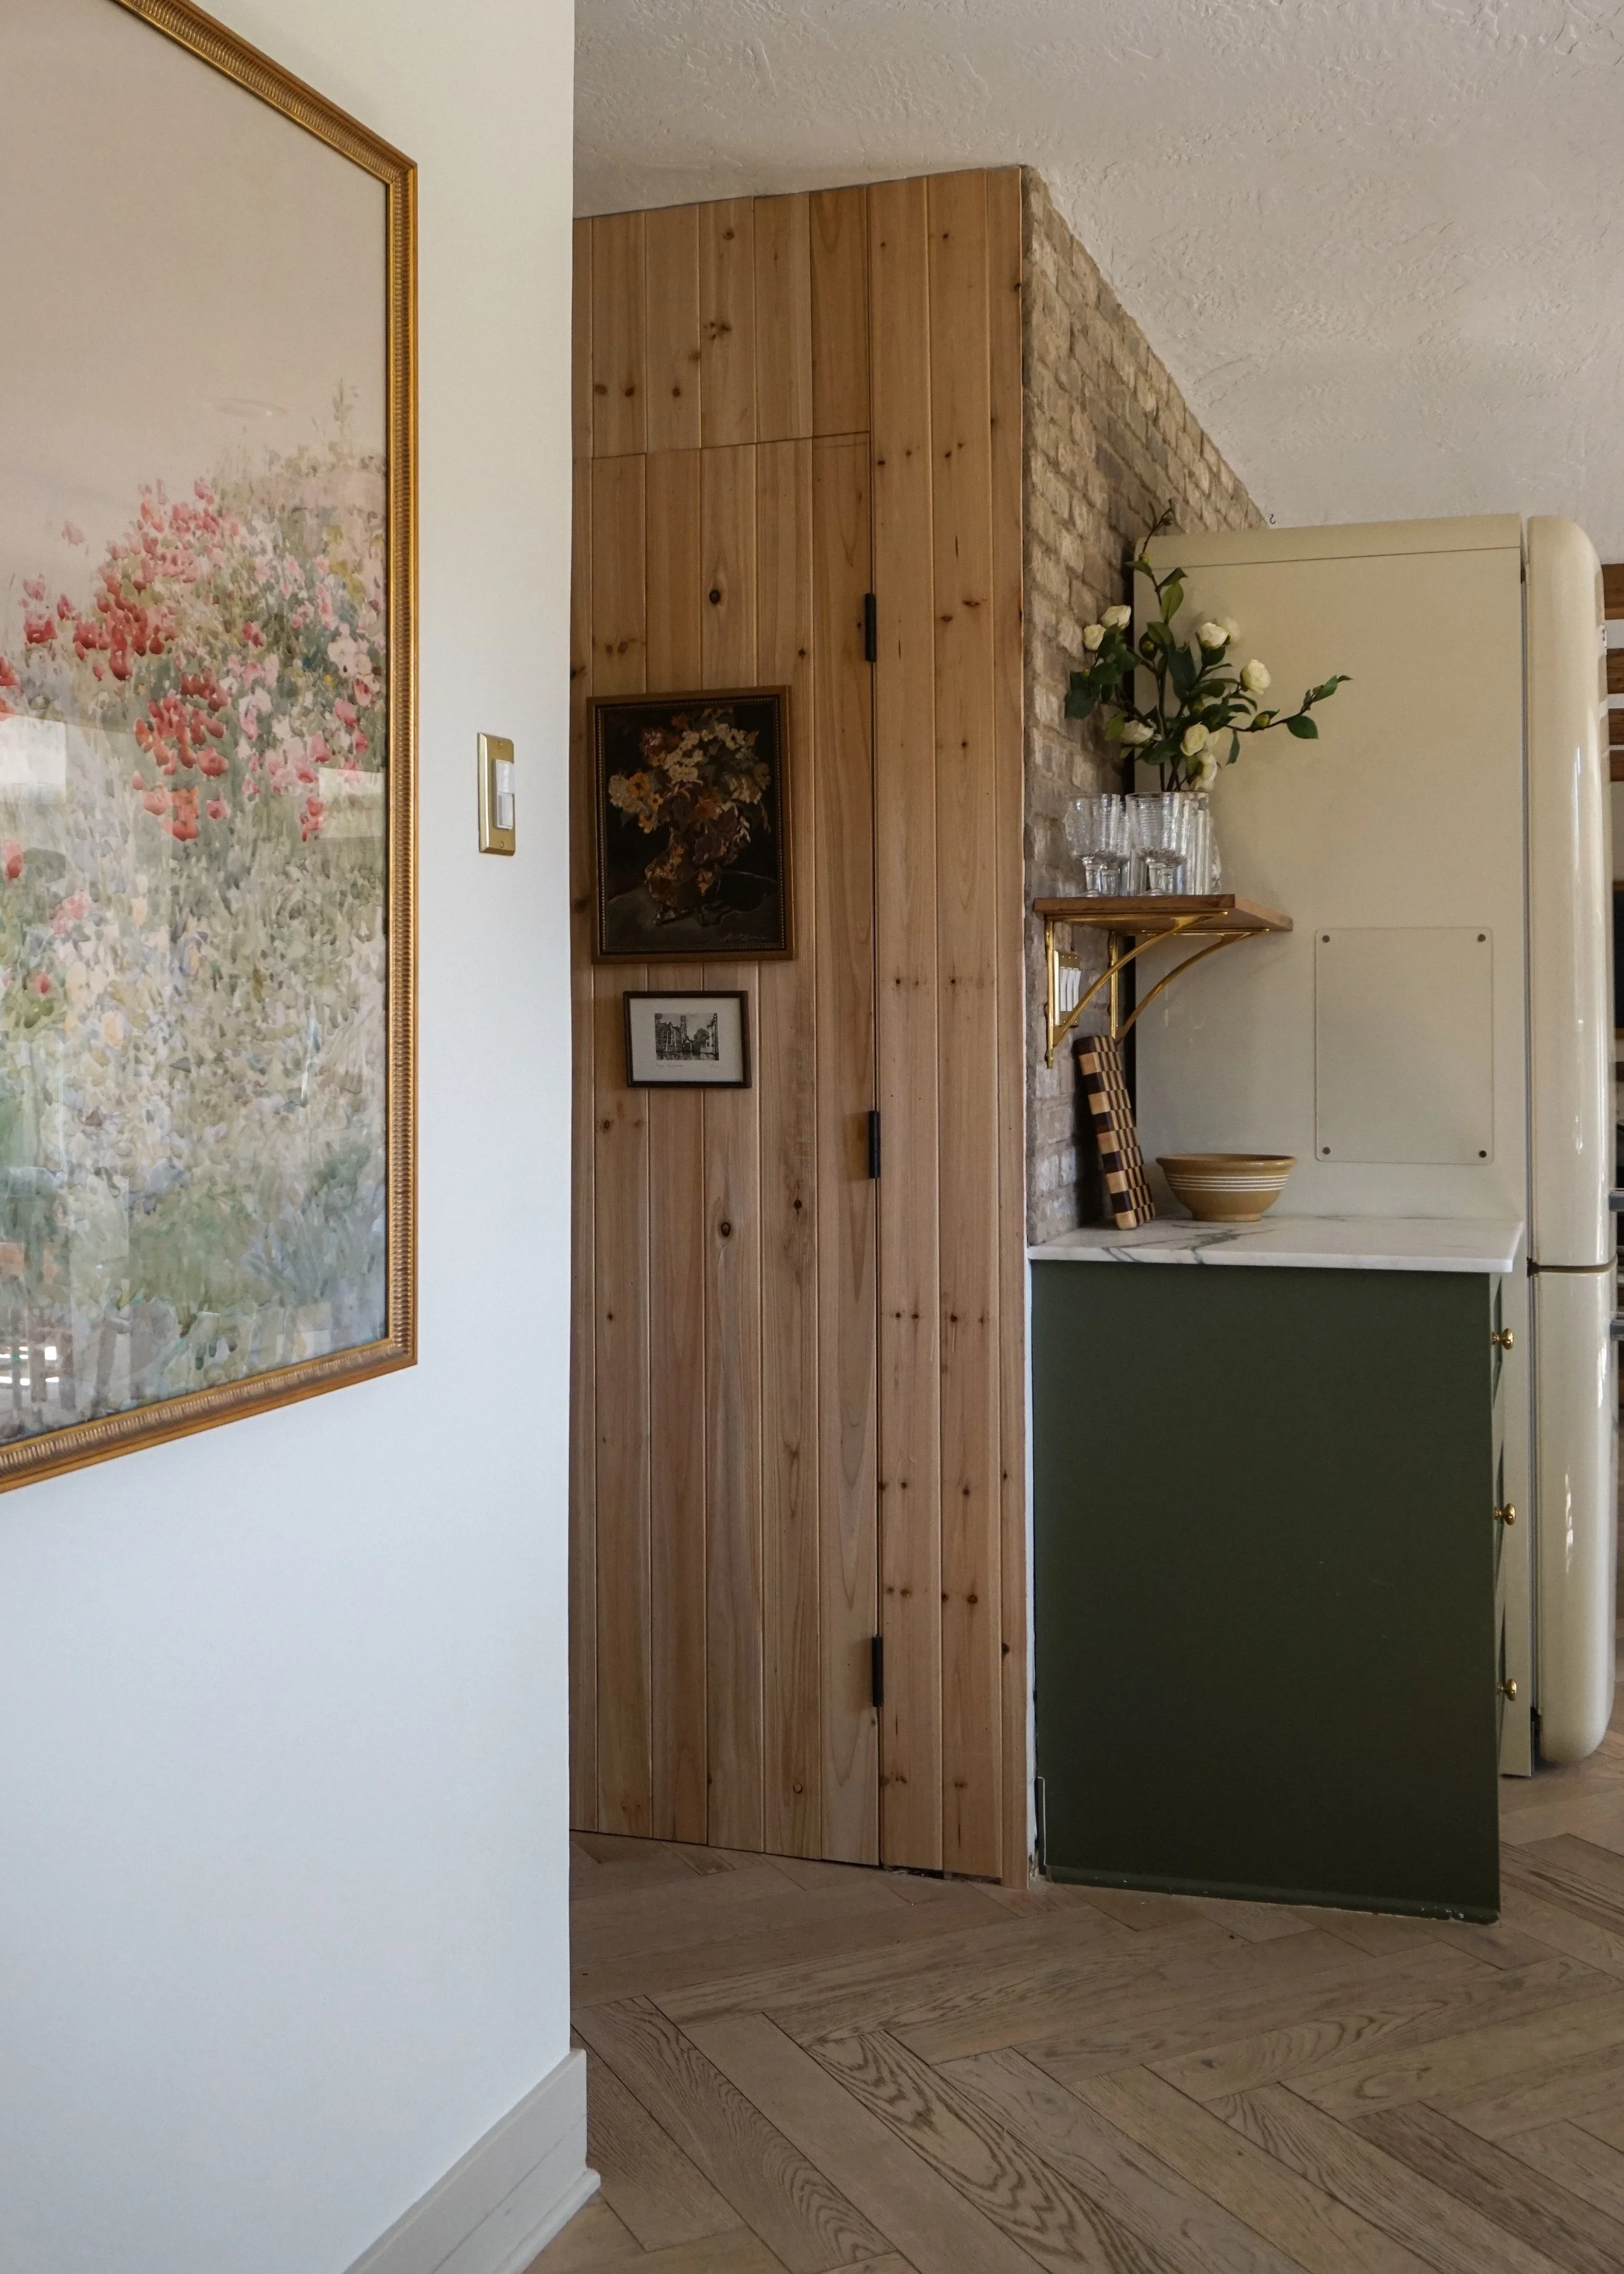
This project started with an idea that I just had to try. When we remodeled our kitchen, we couldn’t change the layout too much due to budget constraints, and we couldn’t move any walls either. It was also my first time renovating a kitchen, so I made a few mistakes. One of them was the size of the opening that connects our kitchen to the dining room. I didn’t consider all viewpoints, like the one you see when standing in the dining room (picture below). I wish I had made the opening smaller or planned the fridge wall differently, but those are things we can’t reverse now. So, instead of always staring at this view and thinking about what I wish I had done differently, I decided to improve it, with what I have.
I've seen many hidden door projects, but they usually require building a door from scratch and using hidden hinges. While those look great and have a beautiful finish, I wanted something simpler that could give me a similar result with minimal effort. I've been using these cedar V-groove boards all around our home and I love them. They're affordable and thin and lightweight, making them perfect for this project.

Trying out my idea before committing to removing the door casing.

The view from the dining room into the kitchen.
The plan was to cover the door with wood planks and replace the hinges. Sounds easy? It was.
The first step was to remove the current door molding to leave an almost flat surface to work with. Then, I cut some notches with a utility knife for the wood planks to sit as close as possible to the edge of the door opening. Since the wood is thin and soft, this part was easy. Important to note that I started installing the wood planks from the hinges, out.


Taking the door knob out.


I used only nails to secure the boards in place, which I think is enough, but if you need to, you can also use construction glue. I also cut the boards for the top to end almost exactly at the door edge and tried my best to get all the boards to align perfectly. I did most of this using a miter saw, but you can do it with a miter box and hand saw as well. It will take a little longer, but it's possible.


Then I also needed to cut two boards lengthwise, which was the trickiest part.
I installed a magnetic push-to-open latch I found on Amazon, and it worked great to keep the door closed. I believe these are meant for cabinets, but it worked perfectly for this door.
Ideally, you want to remove the door stop trim to install this latch, but I didn’t want to make any changes to the door casing, so I kept the trim. This made the door not completely flush with the wall. It doesn’t bother me, but it’s something to keep in mind.

This Amazon magnetic push-to-open latch was a great find!

Lastly, I installed the baseboards for a more seamless finish. For these, I needed to cut them at an angle so the door could open.
Once everything was installed, it was time to cover all the nail holes with wood filler, prime the wood, and then paint. I chose Swiss Coffee by Behr for the walls and Accessible Beige SW for the baseboards. Right after finishing installing the wood panels I thought to maybe stain the wood instead of painting it, I even left the wood raw and live with it for a month, but ultimately decided to paint it because it made more sense in the space, the raw wood even though it was beautiful it didn’t look right with the rest of the hallway.


The last step was to swap the black hinges for white ones so they didn’t stand out as much, I used these from amazon. Quick and easy change.

Installing the white hinges.
I am happy with the result, its not perfect, its not completely hidden, but I think it blends in much better. My favorite part Is having an additional “wall” to hang more art.
I hope this is helpful and inspires you to do a similar project in your home. Like every good recipe, you can for sure add your own twist to this idea and make it even better for you.

View from the hallway.


View from the dining room.
Shop this post: