DIY Jasmine Trellis wall

Let’s start this post by saying, I am not an experience gardener, in fact gardening intimidates me, I have no clue about planting zones or what plants do well in certain climates, etc -btw I had to research my planting zone for this post- and for that reason and more I am a BIG fan of Star Jasmine. And, it smells so good when it’s blooming.
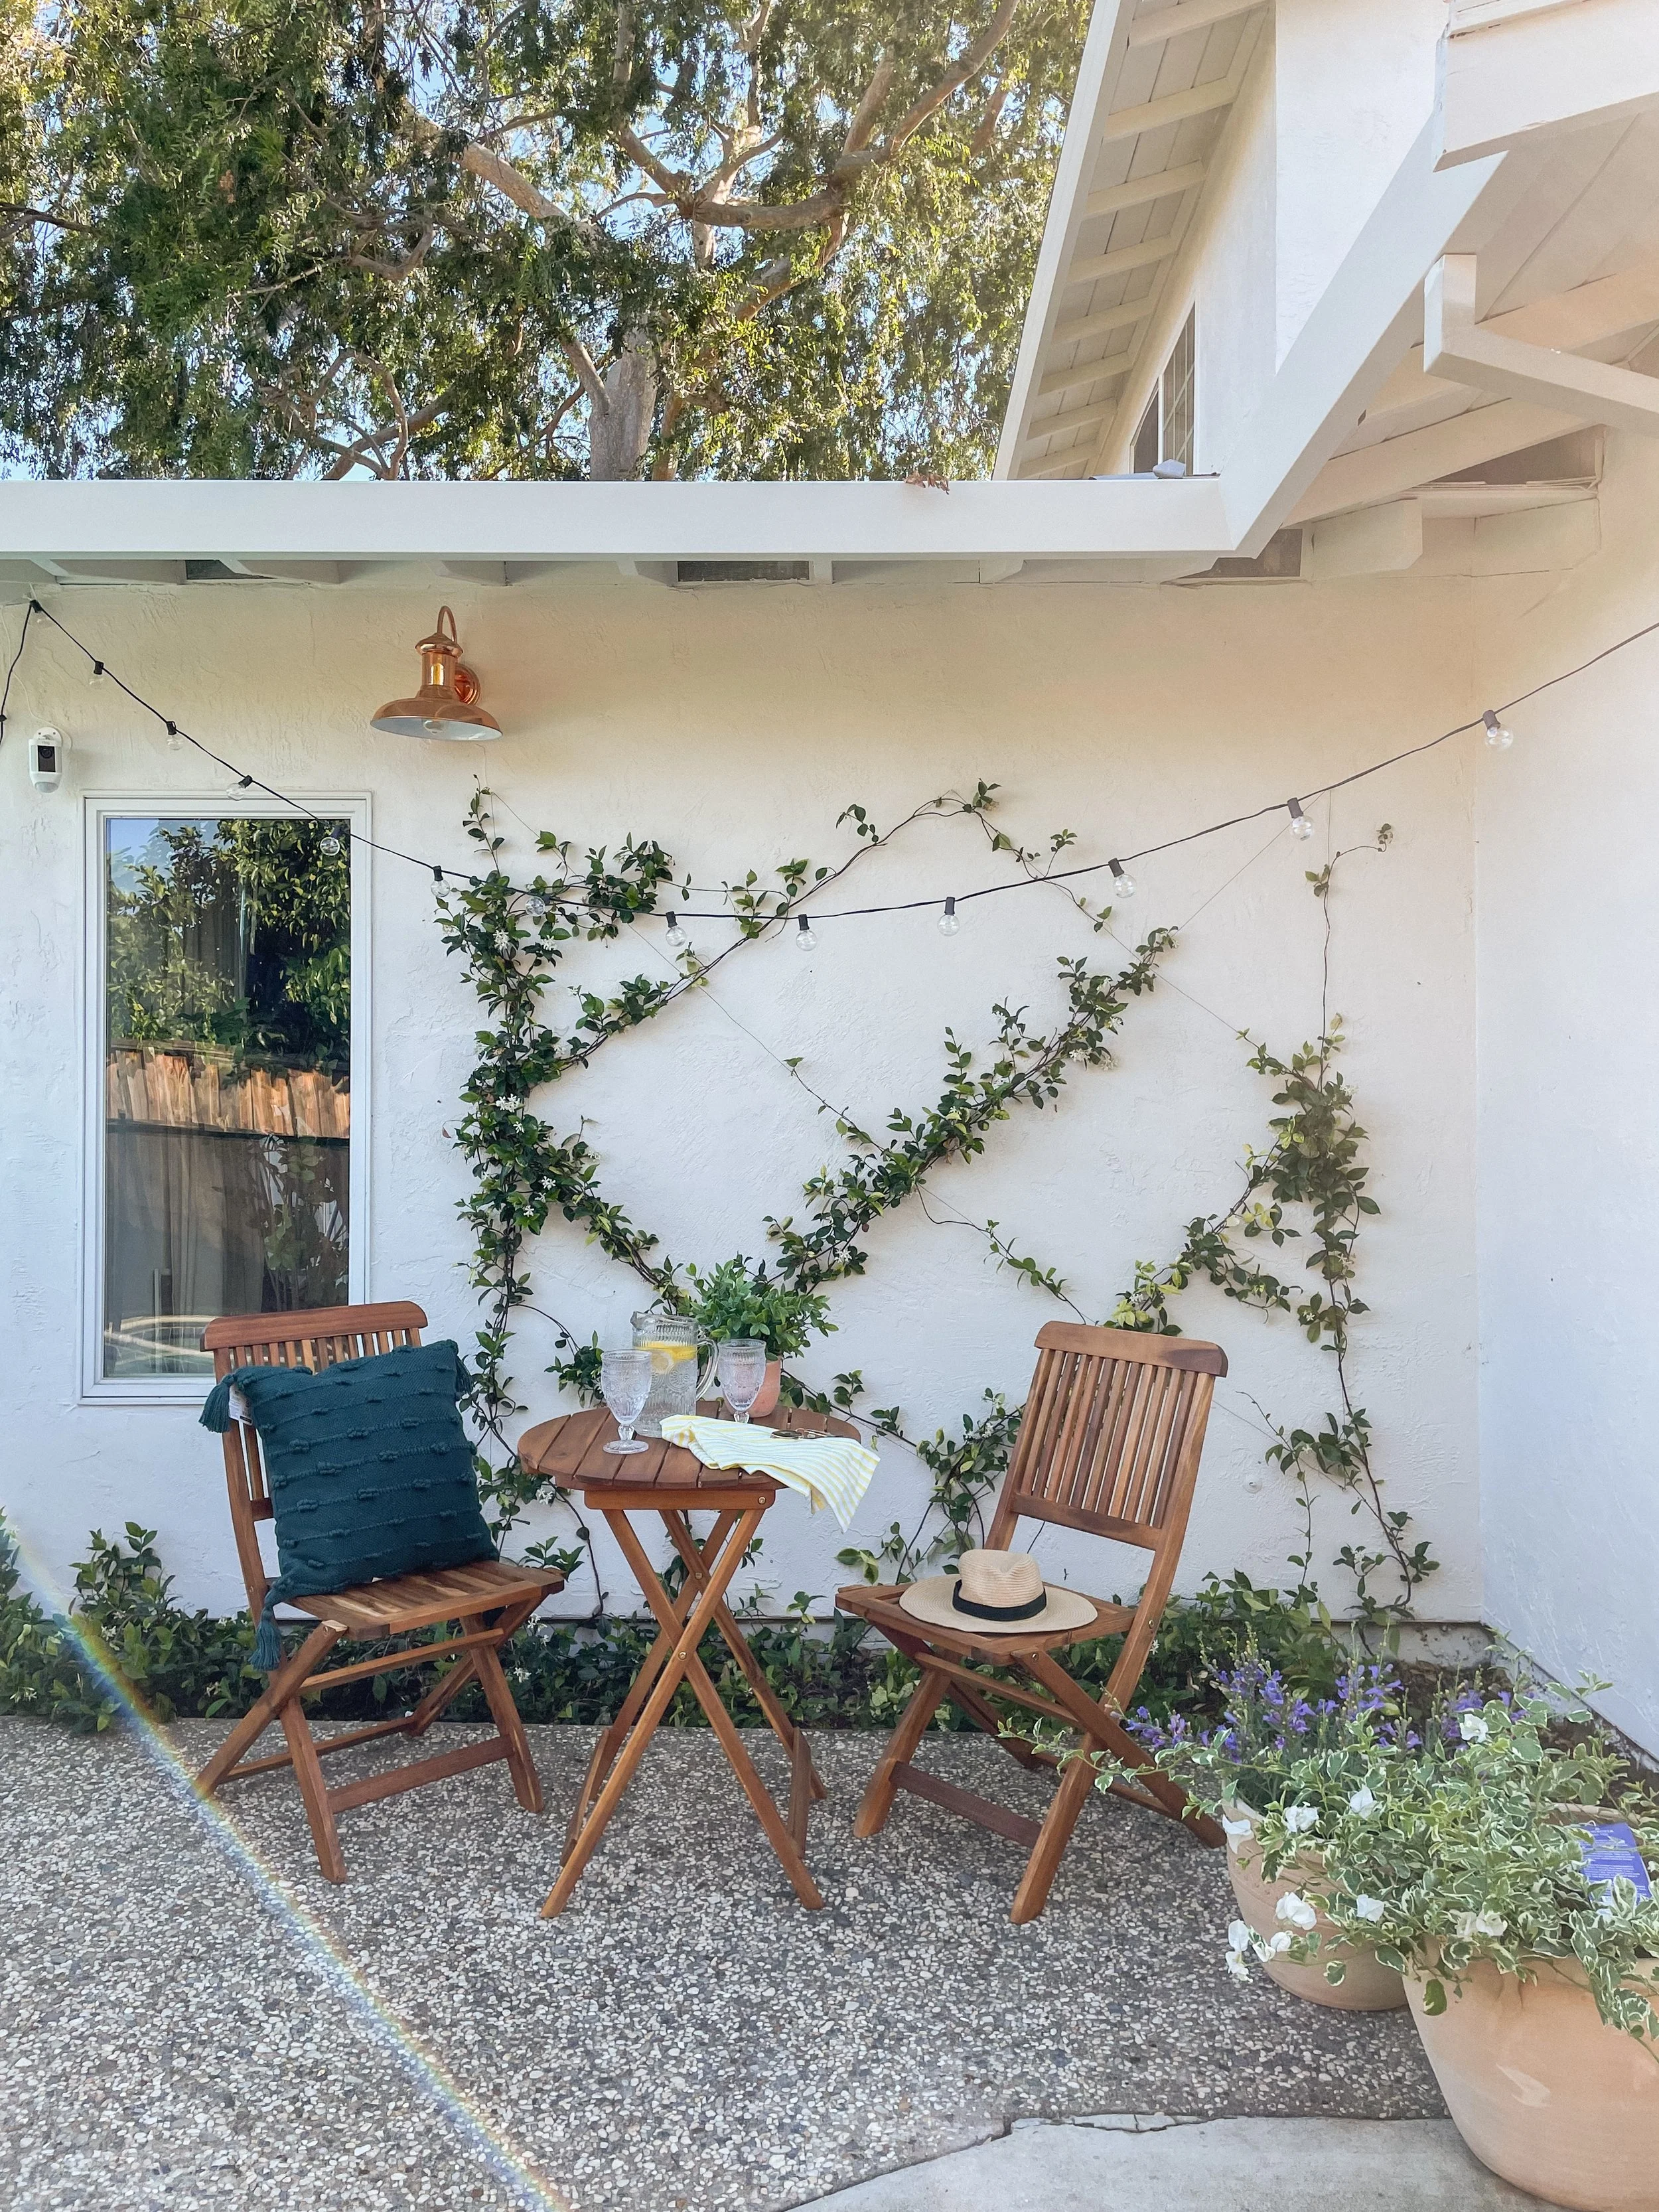
Welcome to our backyard, actually part of it. Today, I'm excited to share one of my favorite DIY projects: creating a beautiful trellis wall for our Star Jasmine. This evergreen woody vine is not only one of the easiest plants to care for, but it also adds a touch of ‘elegance’ and charm to any space. If you're looking for a budget-friendly and simple way to transform your outdoor area, this project is perfect for you.
Think about, wall decor for your backyard. If that is what you are looking for, I'll be happy to guide you through each step, from planning and installation to care and maintenance, so you can enjoy the lush beauty of Star Jasmine in your own backyard.
For reference , our planting zone is 10a (30°F to 25°F) and 9b (25°F to 20°F). Thanks google!
Star jasmine is an evergreen woody vine that can be grown vertically, pruned into a shrub or used as a ground cover. The twining growth habit allows stems to be trained up structures such as arbors, pergolas, and trellises, though the tendrils will not attach to masonry.This was so affordable and easy to do and it gets better with time!
For this project, I used:
1 box of stucco screws. This is the exact one I used, it comes with a masonry dill bit.
A masonry drill bit (appropriate size for the screws, as indicated on the box)
Green garden wire
You can use different screws or wall anchors depending on your type of siding.


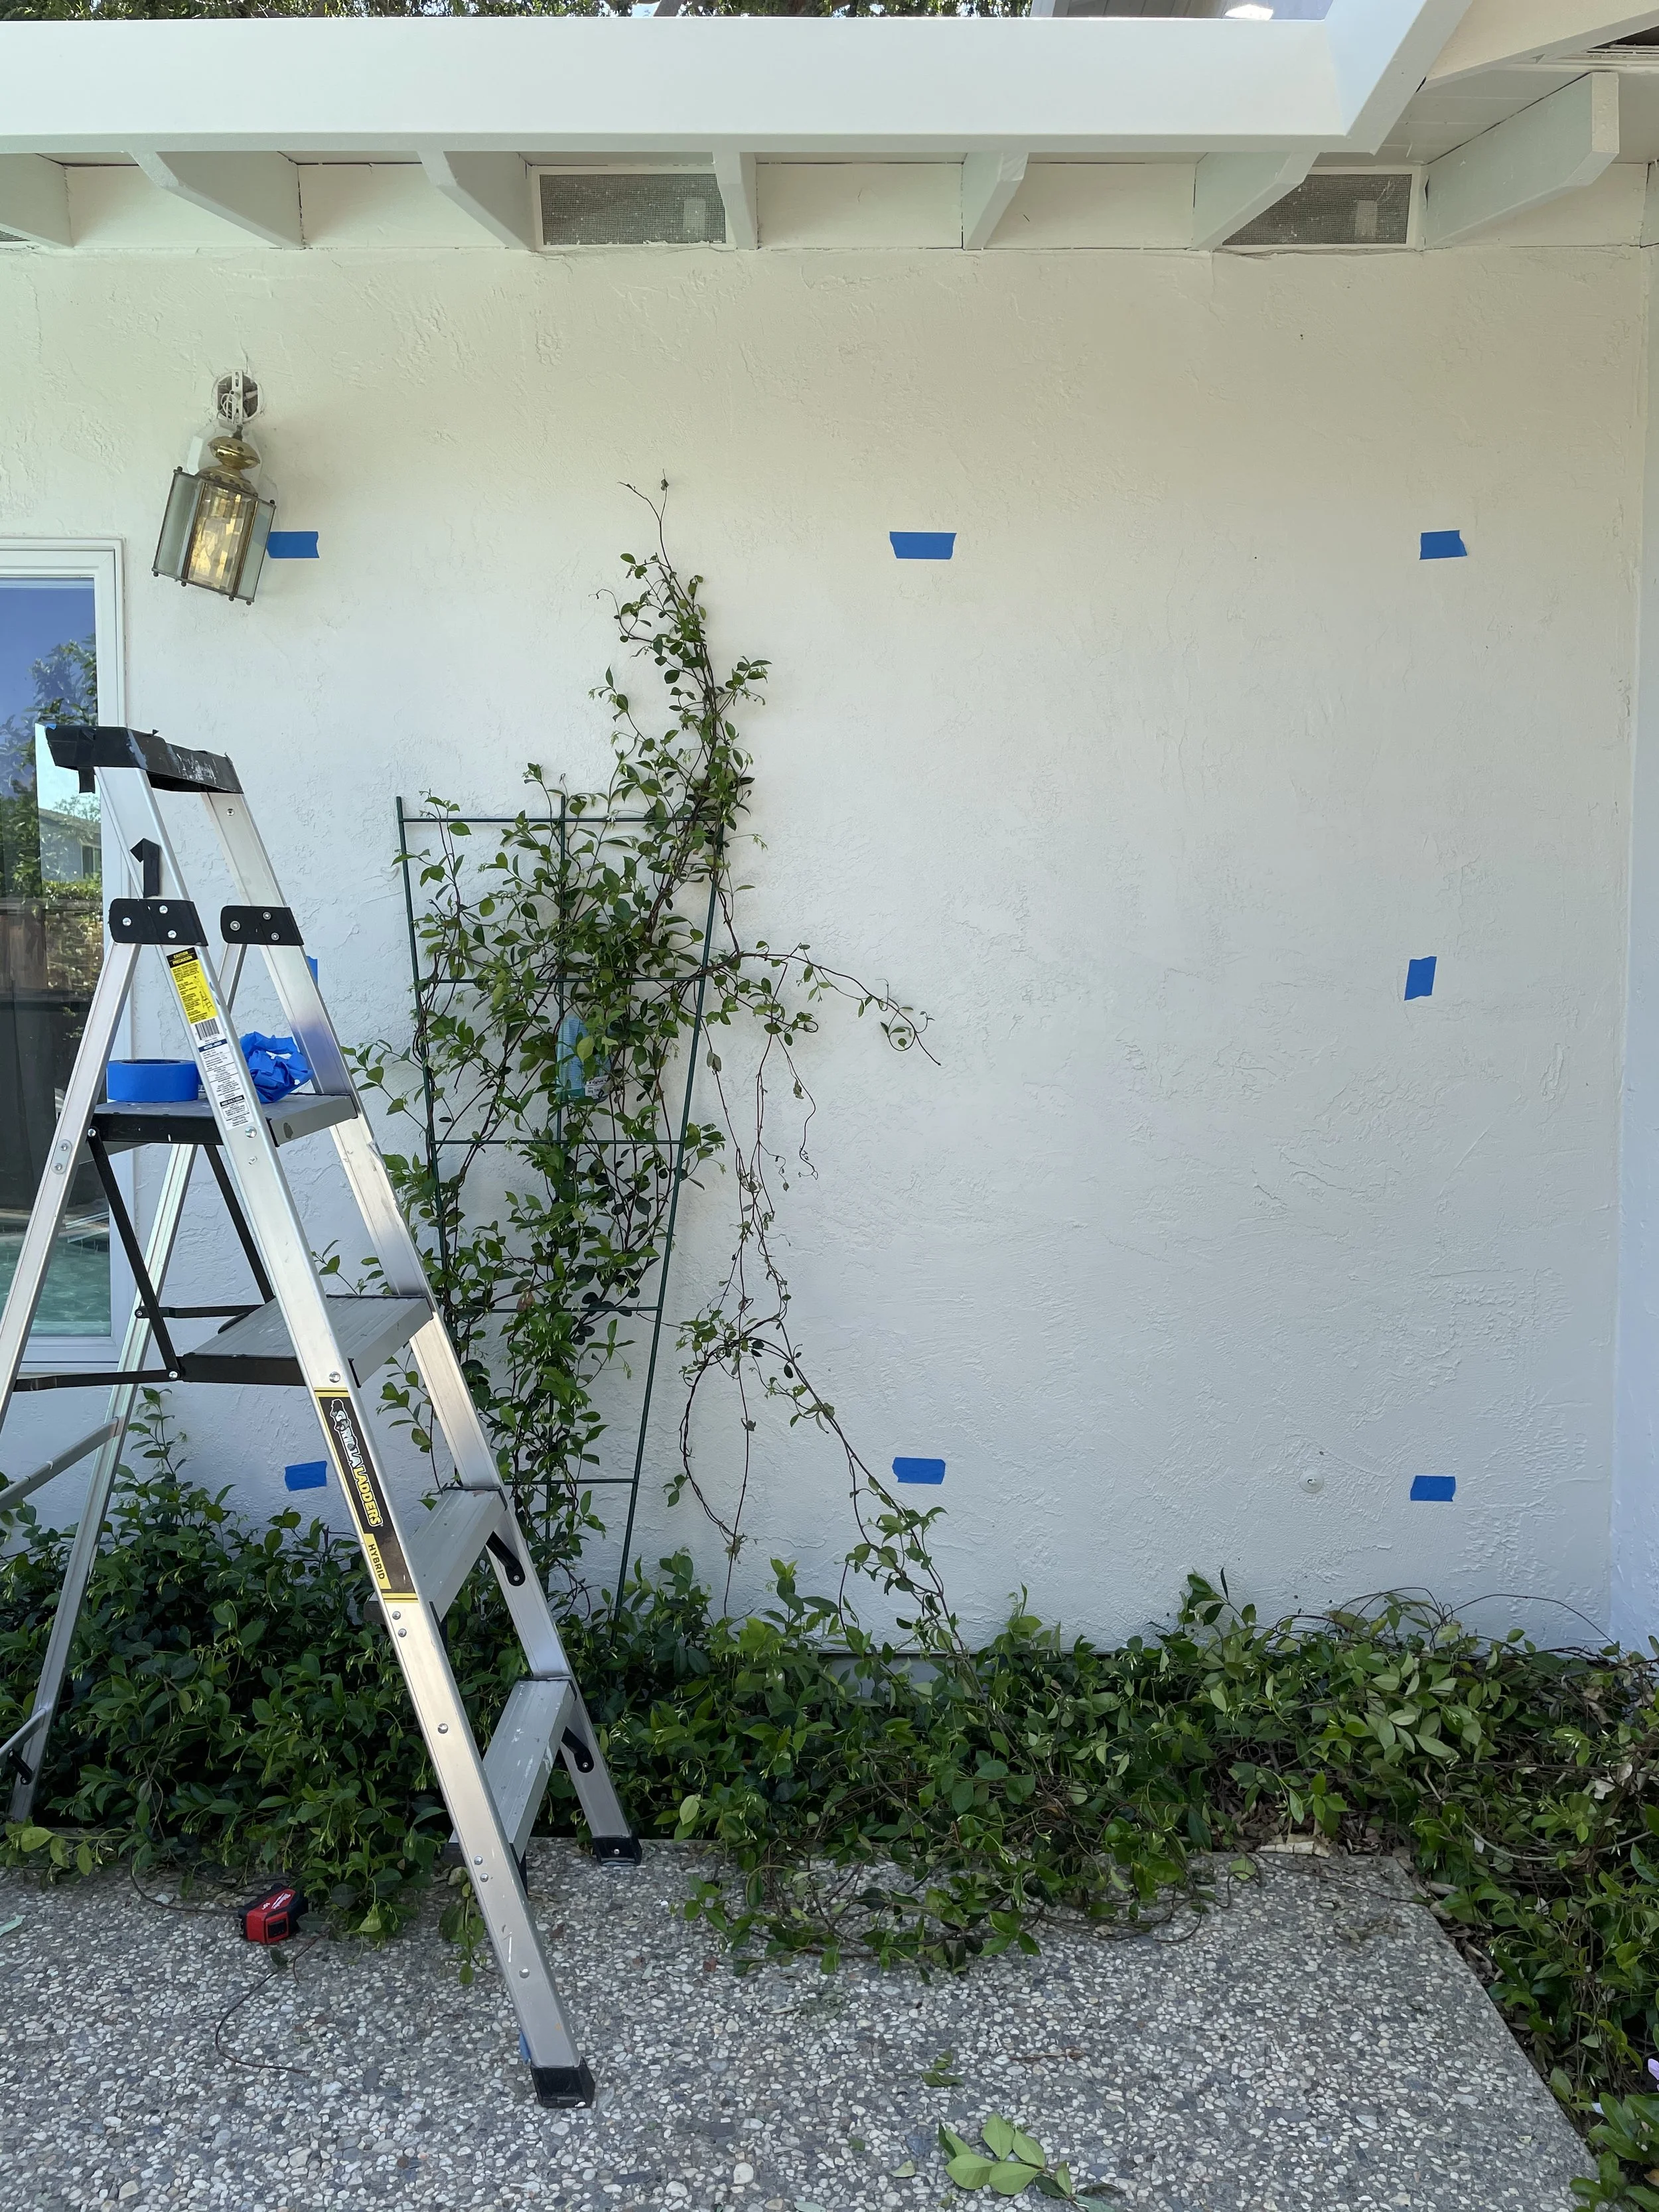
The first step was to plan the pattern. I used tape to mark the spots where I wanted to add the screws, spacing them approximately 24” inches. Ideally you want to space them out 24” or more because once the plant grows and gets full it will cover most of the spacing.
Next, I pre-drilled holes for the stucco screws using a masonry drill bit and an impact driver. You can use a regular driver, but it might take longer.
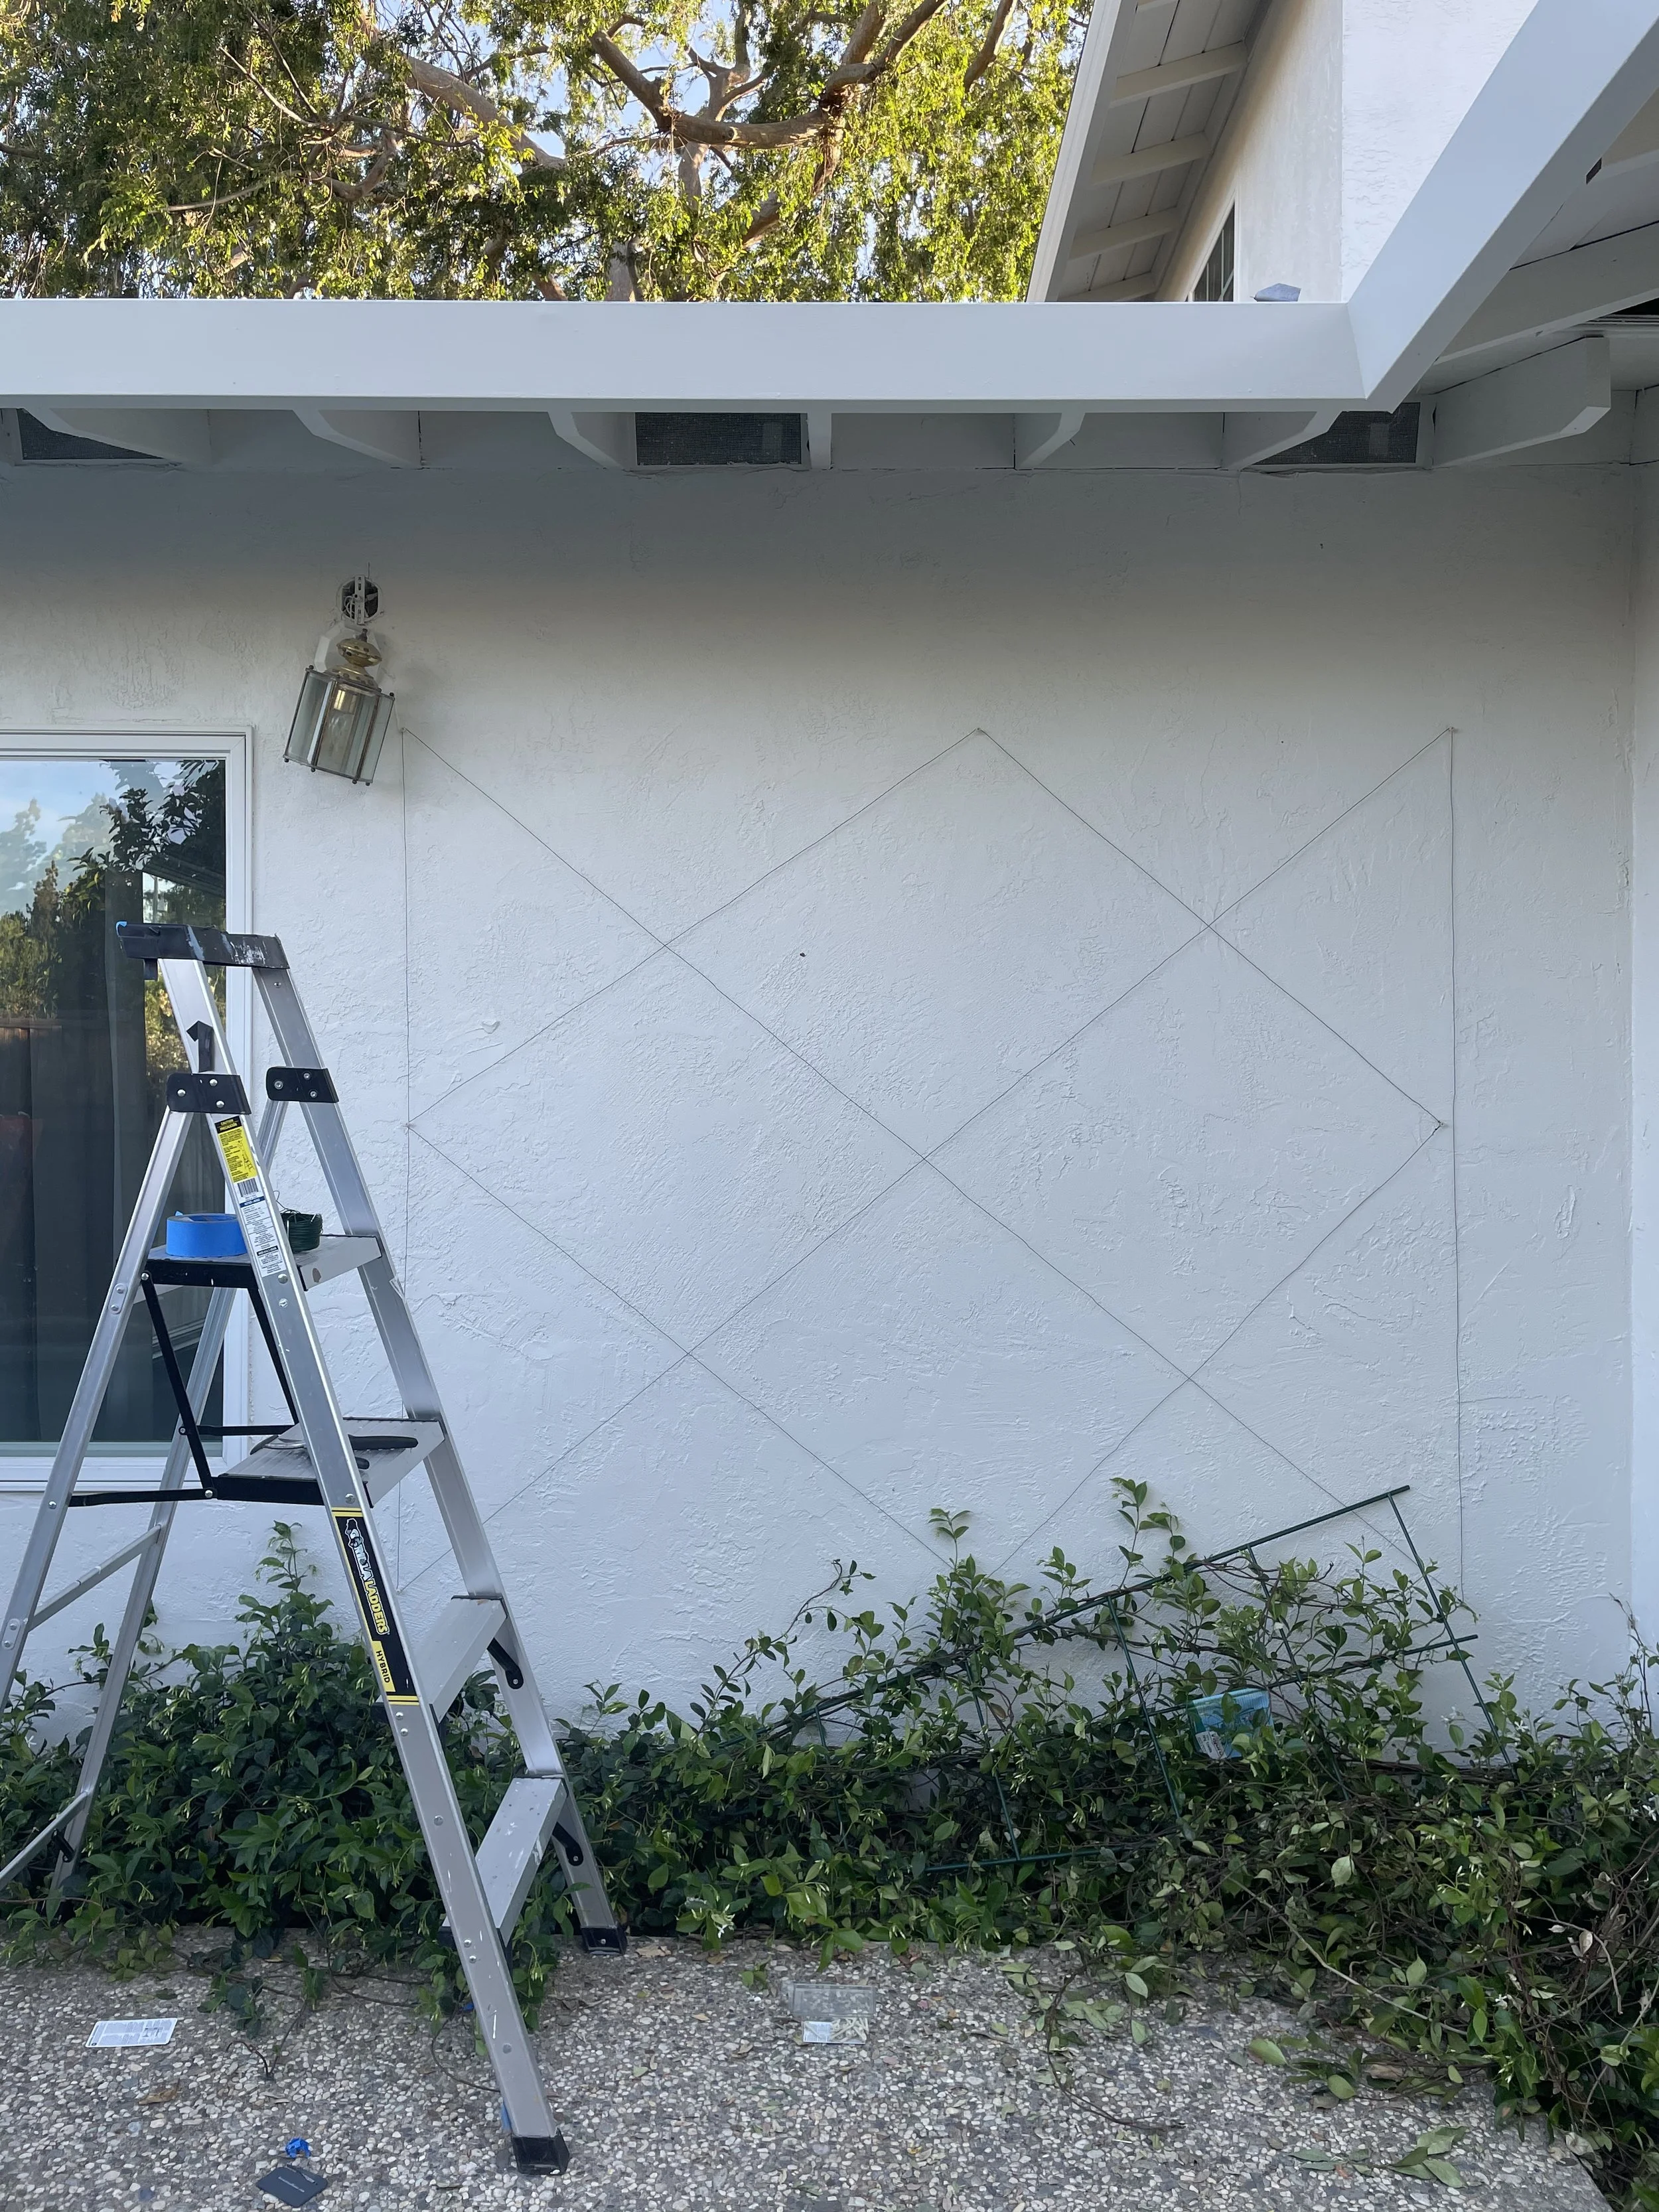
Then, I installed the stucco screws, leaving just enough of the head out to go around them with the garden wire. I used green garden wire to create the diamond-shaped pattern, going around each screw a few times to secure the wire before continuing to the next screw.

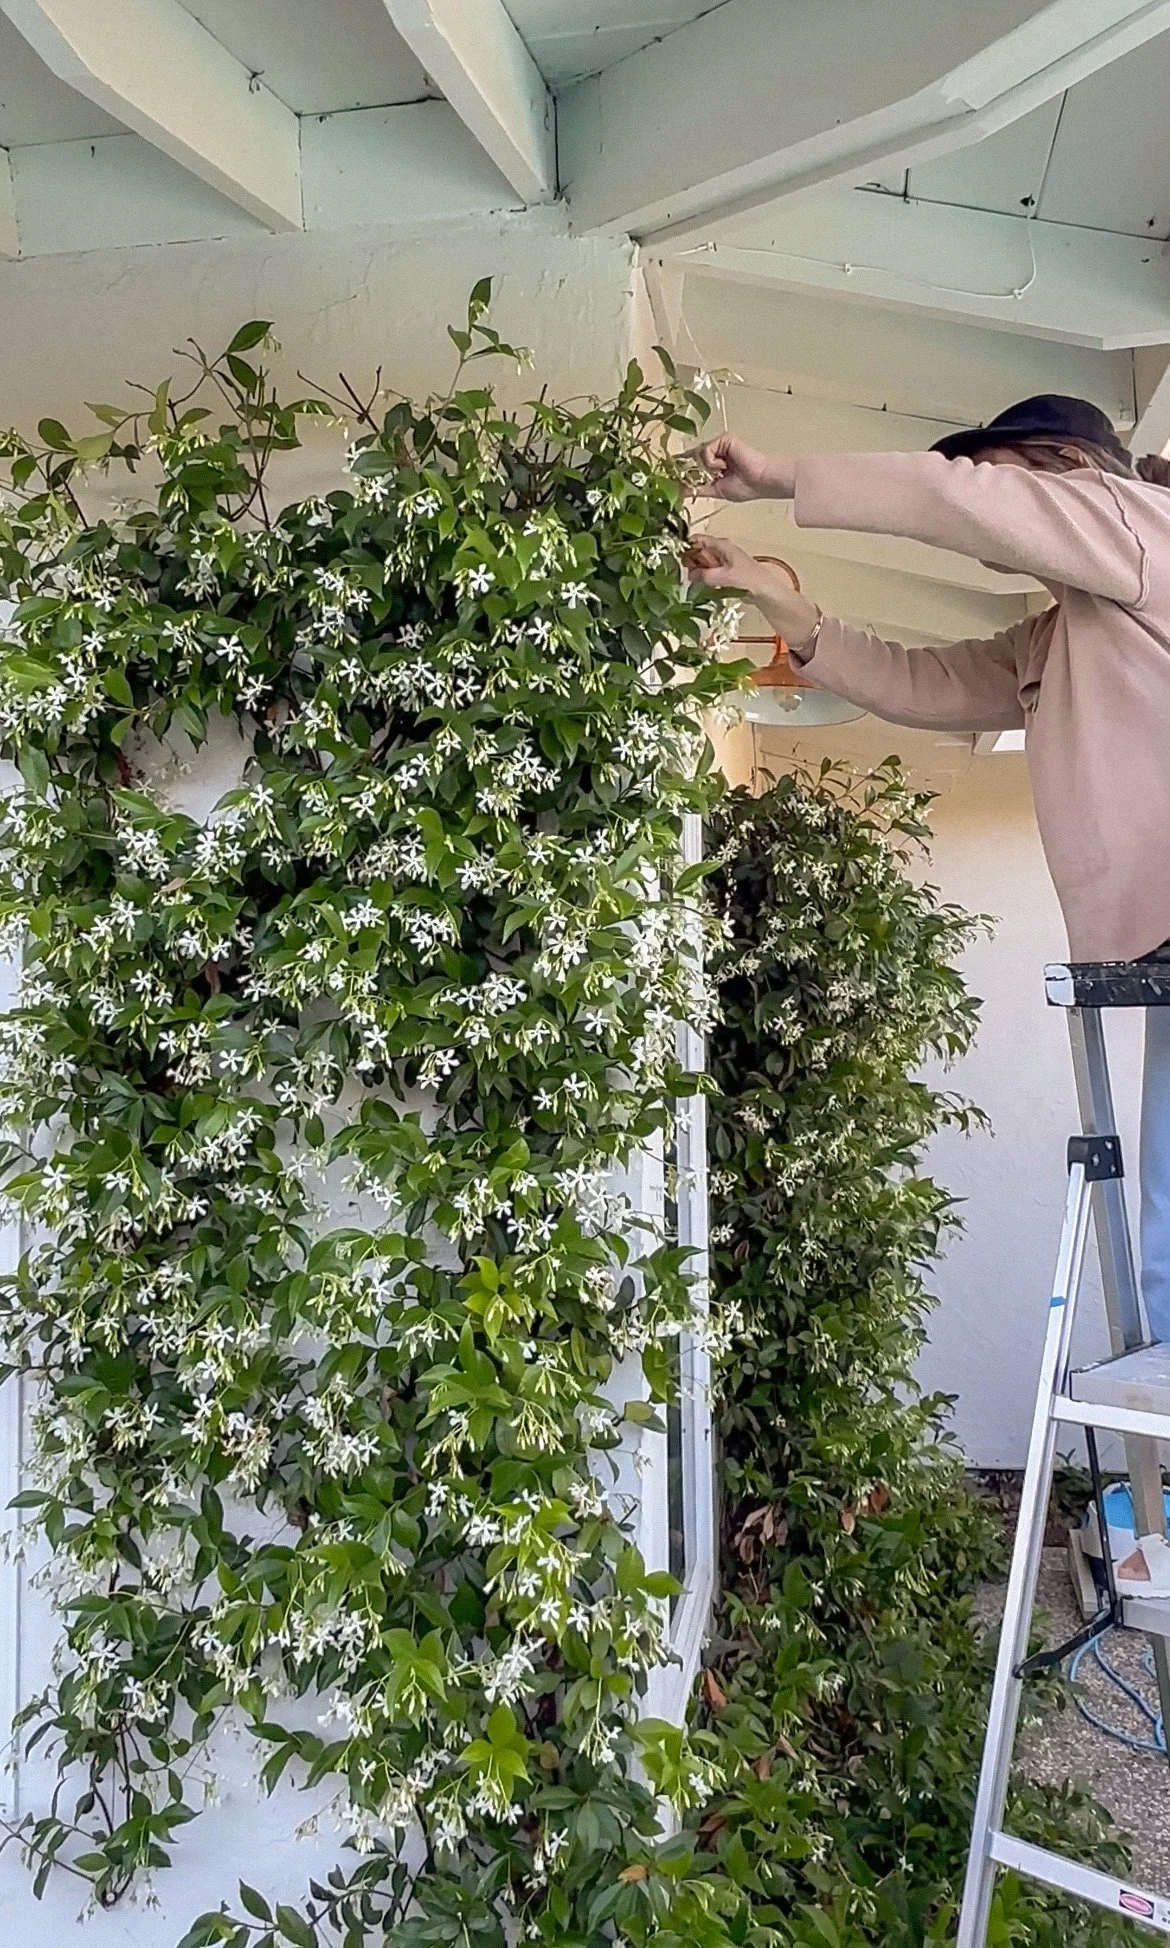
Lastly, I trained my Jasmine to grow around the garden wire. Before doing this project, I had a metal trellis from the garden center, which I used to make the Jasmine grow lengthwise. So when I installed this trellis, I already had some vines to go around the wire.
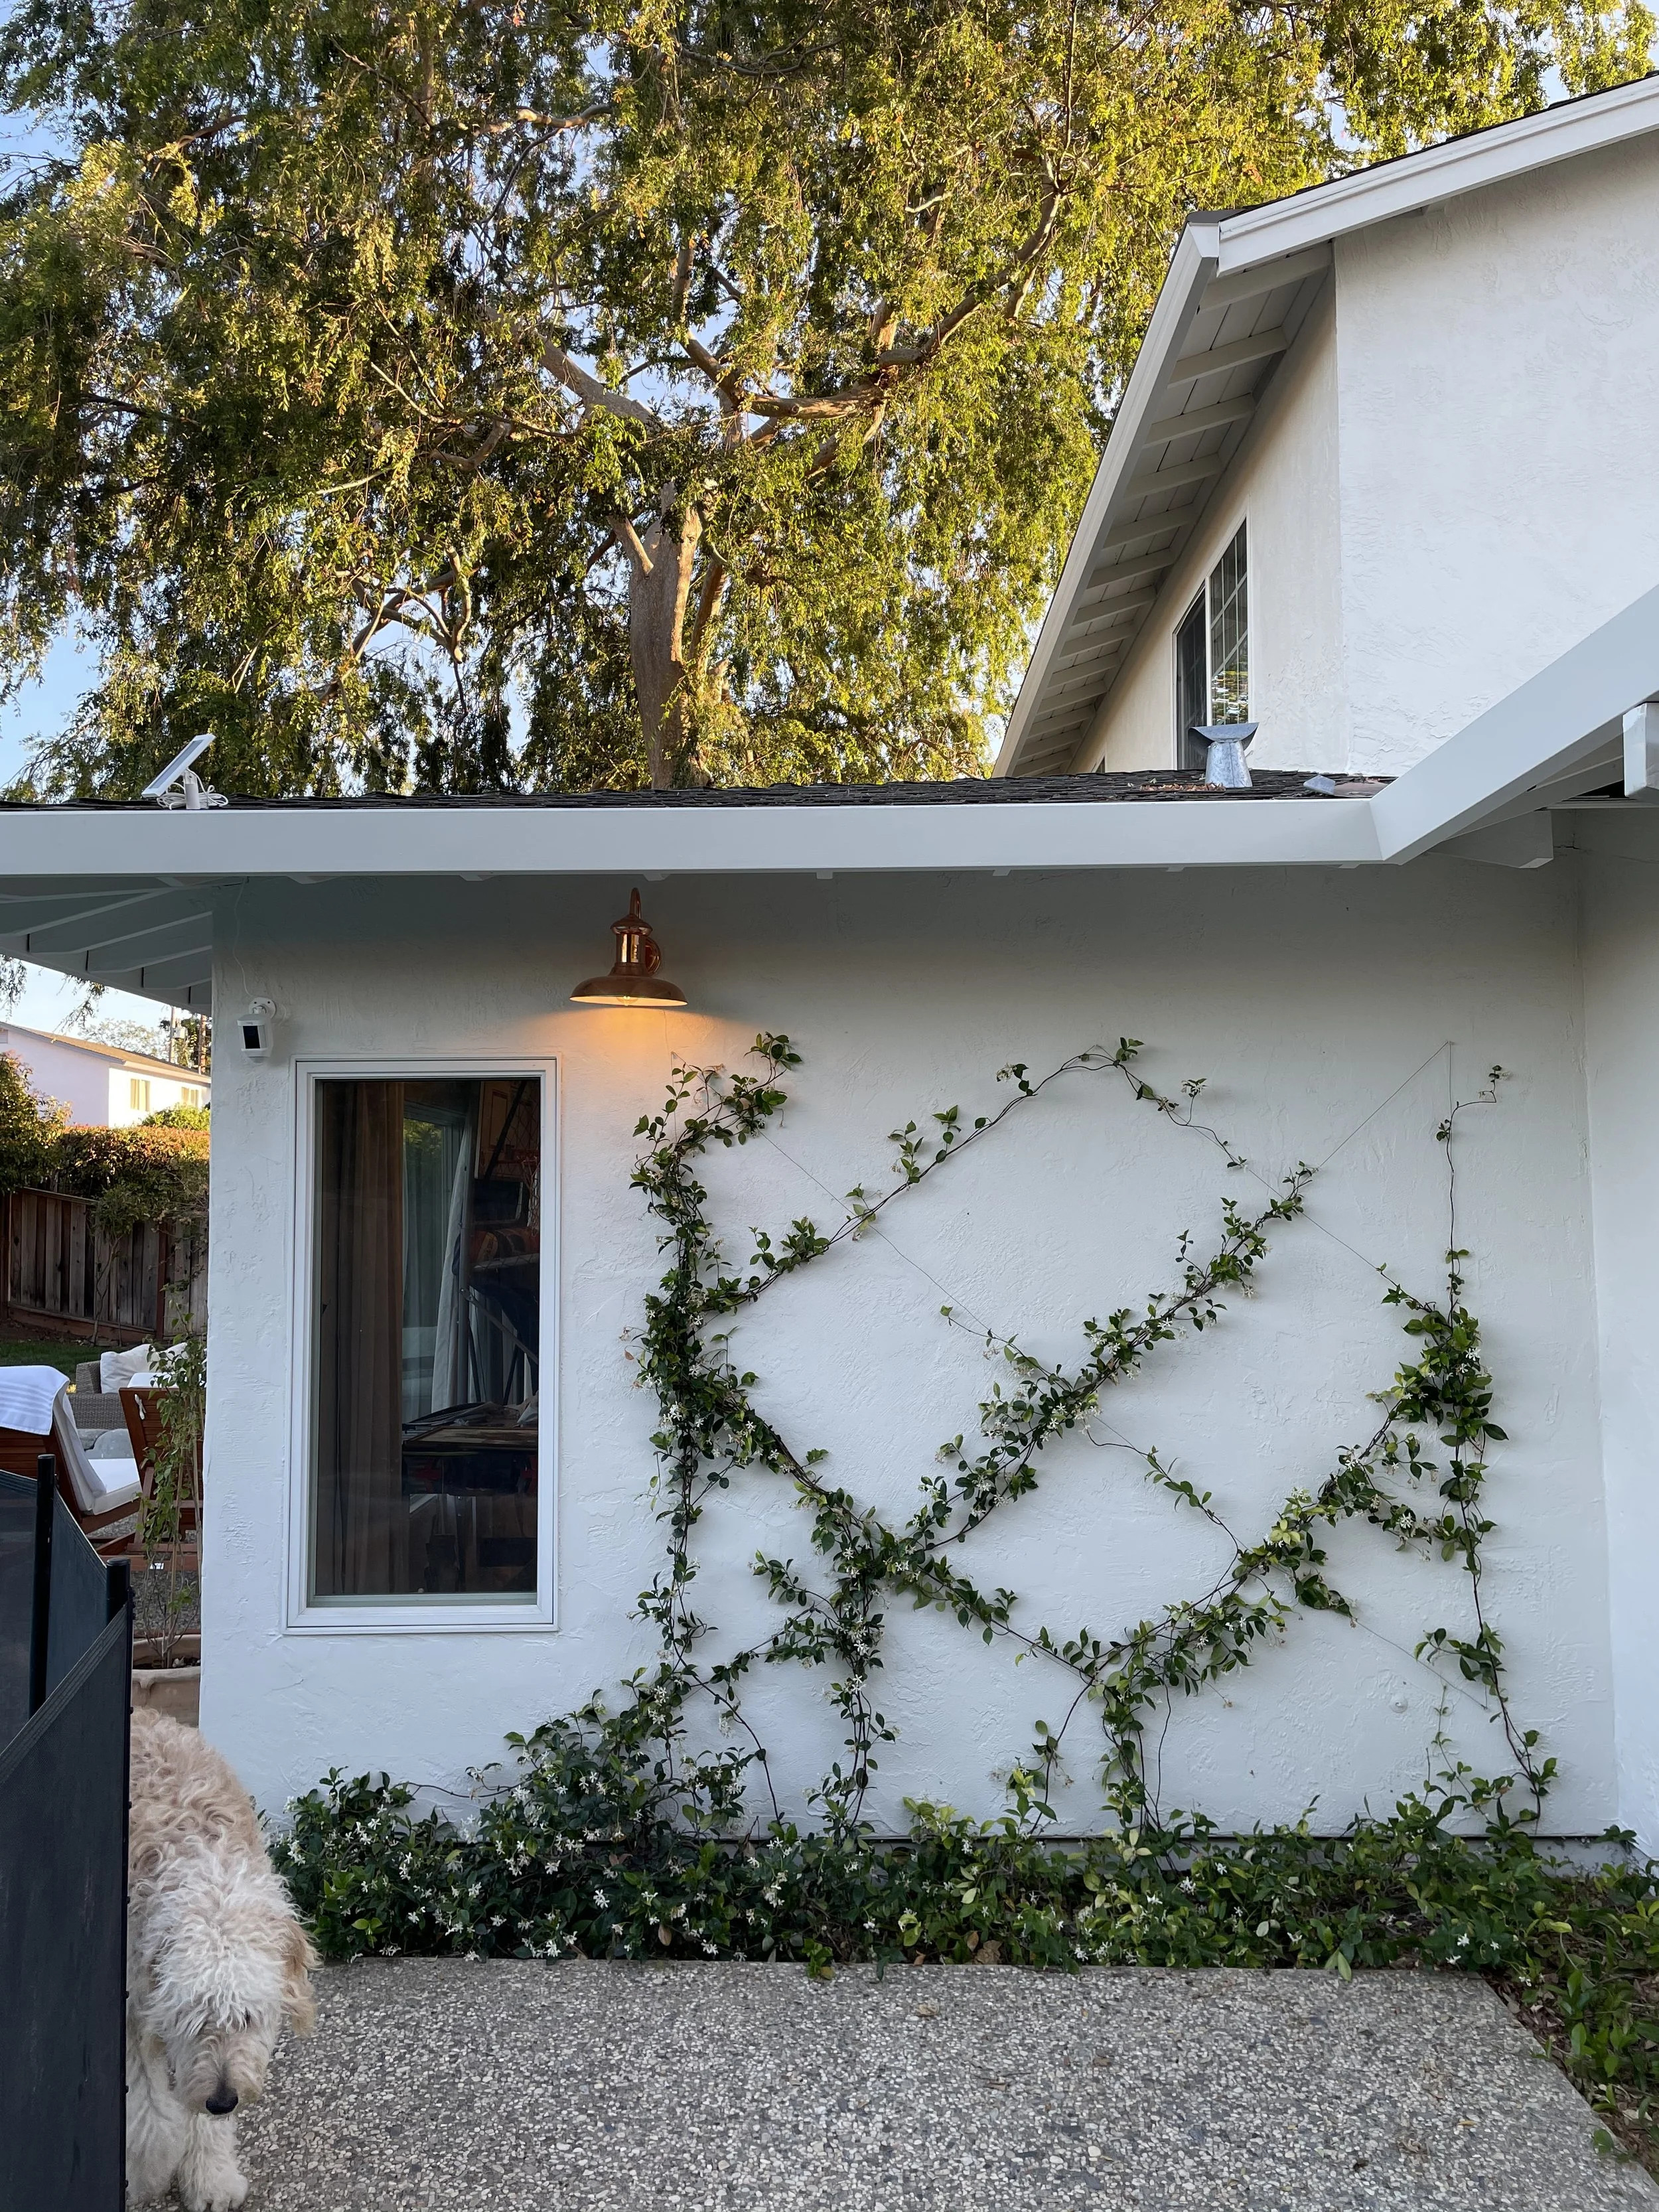
Here’s how it looked less than a month after installing the trellis wall. Since it was the beginning of spring, the growing season, I just had to check from time to time and make sure the new growth was going around the garden wire and intertwining.
Let’s take a look at this wall over the next three years.
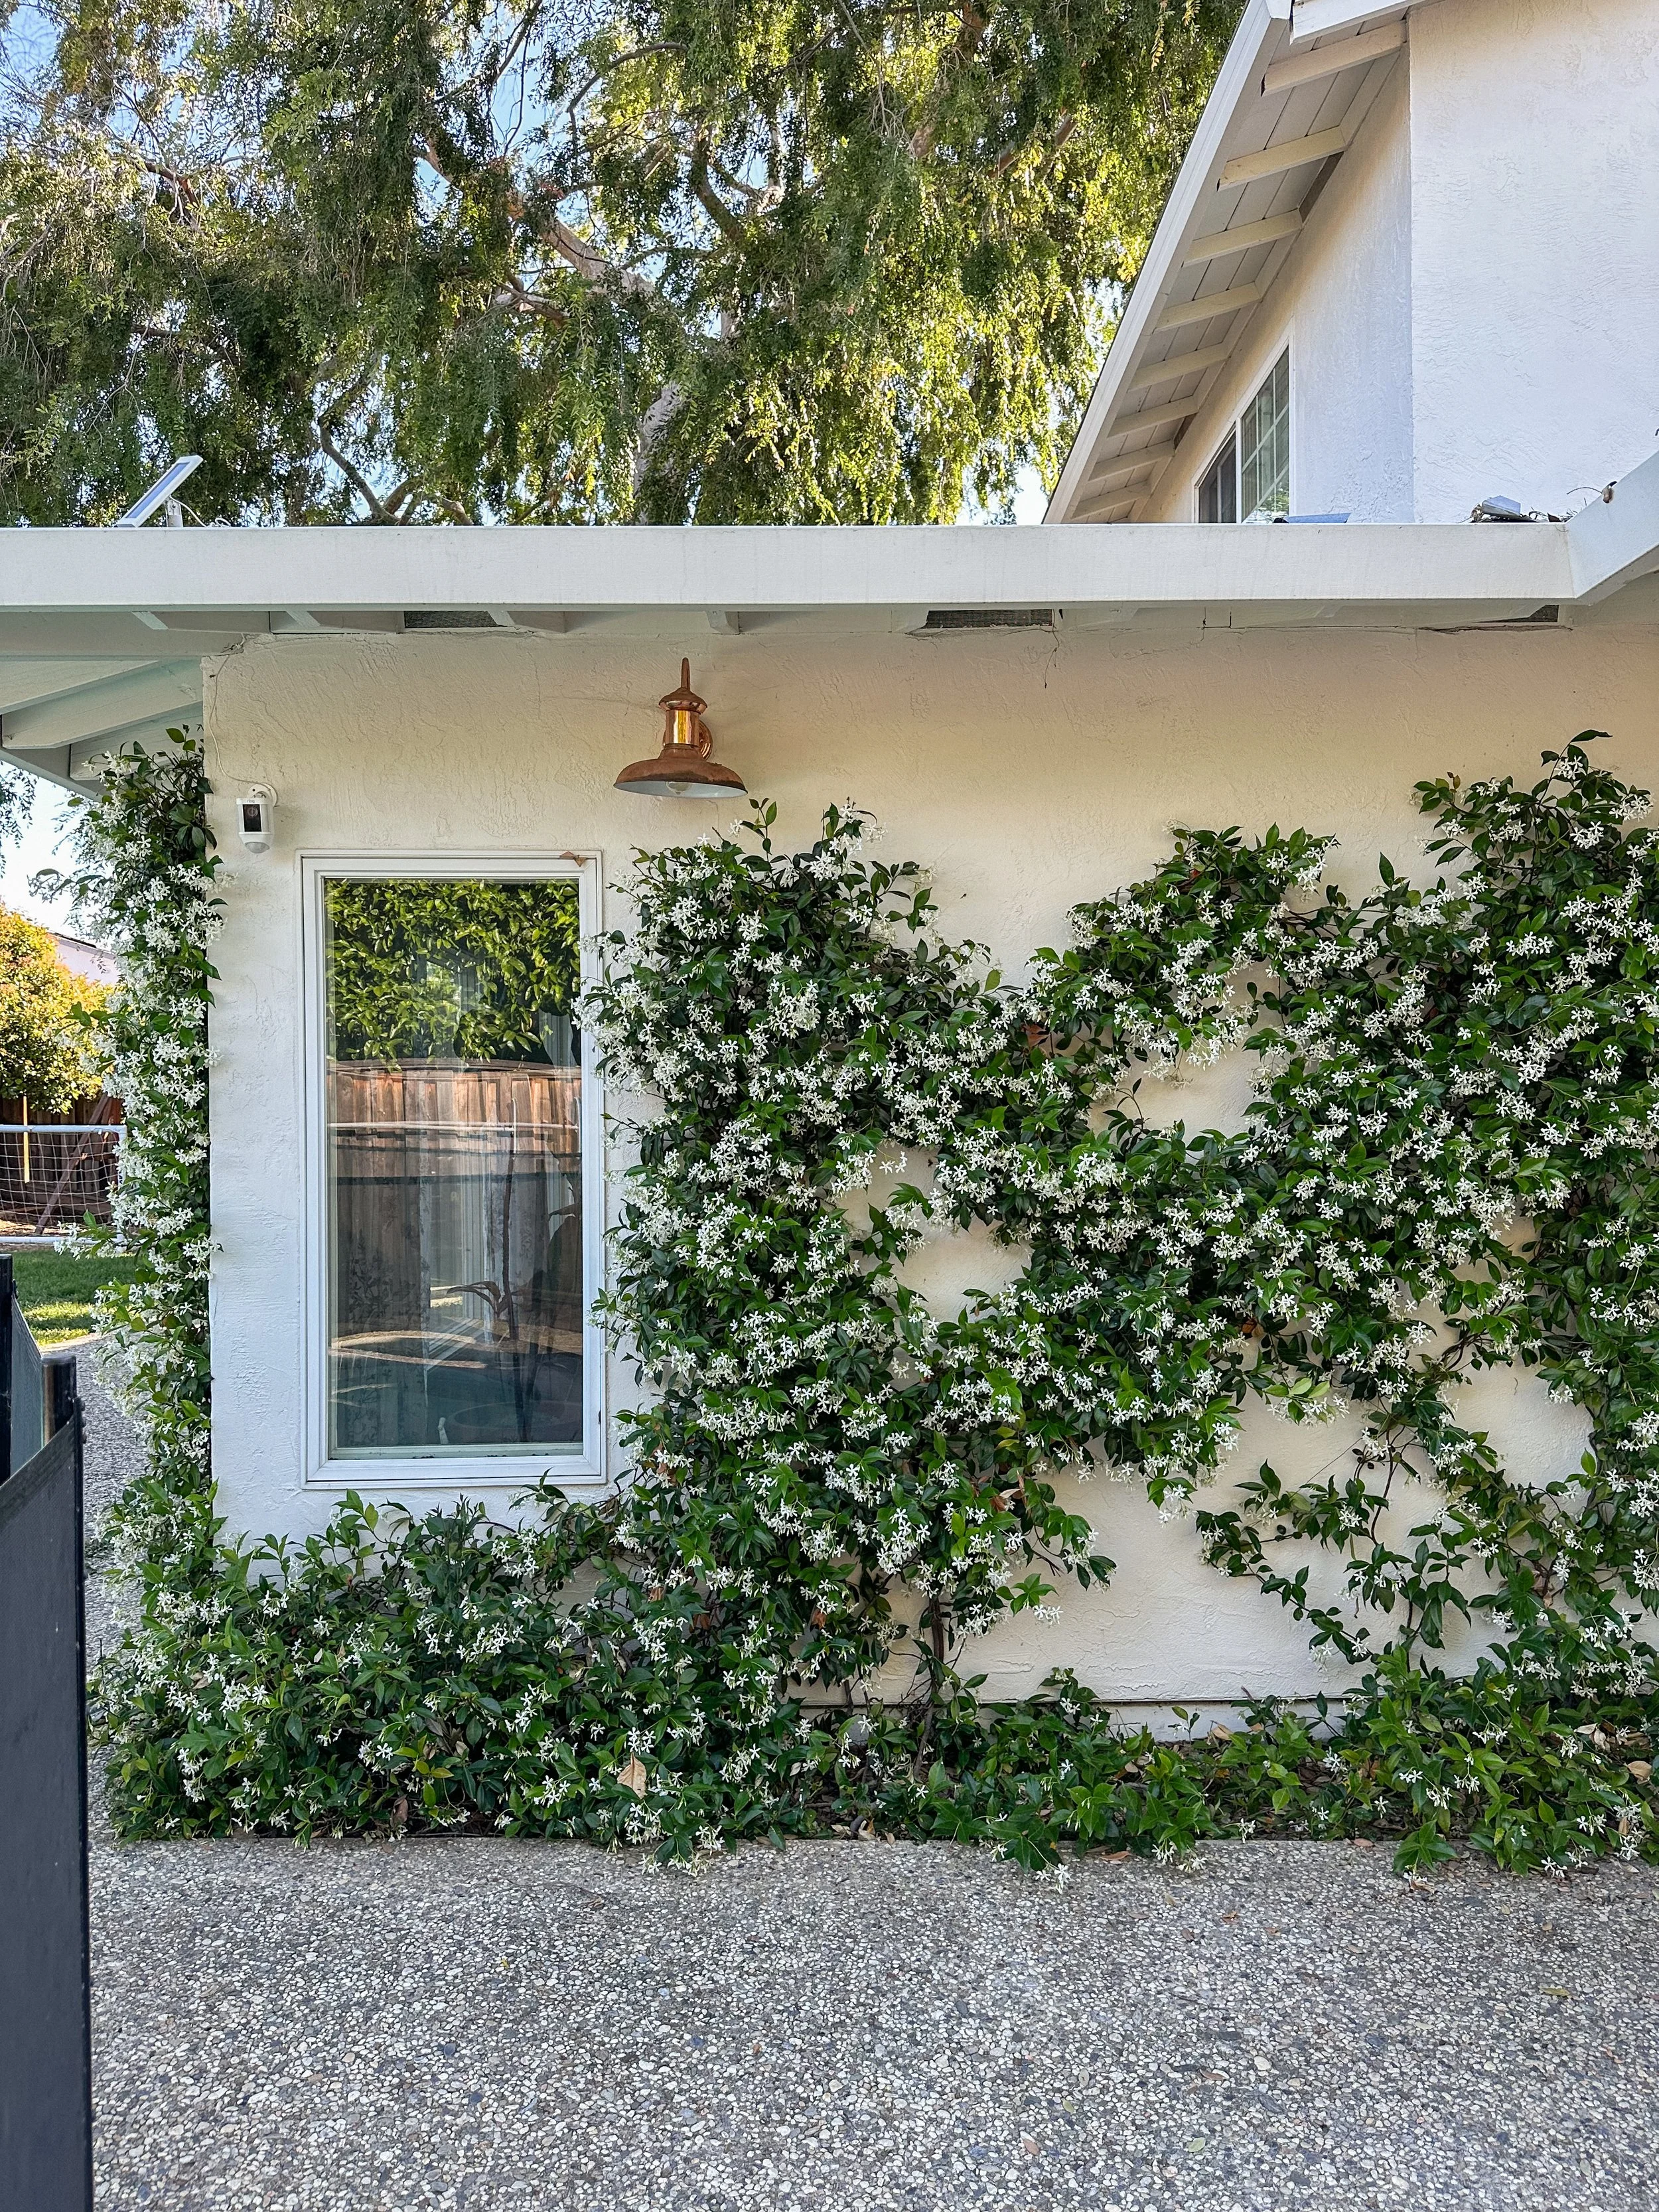
One of the biggest things I learned is that you need to trim it at the beginning of spring, before it starts blooming to have the most beautiful blooms.
A couple of months after installing it, Summer 2021
Year one, this was in the summer 2022, we didn’t get as many blooms this year.
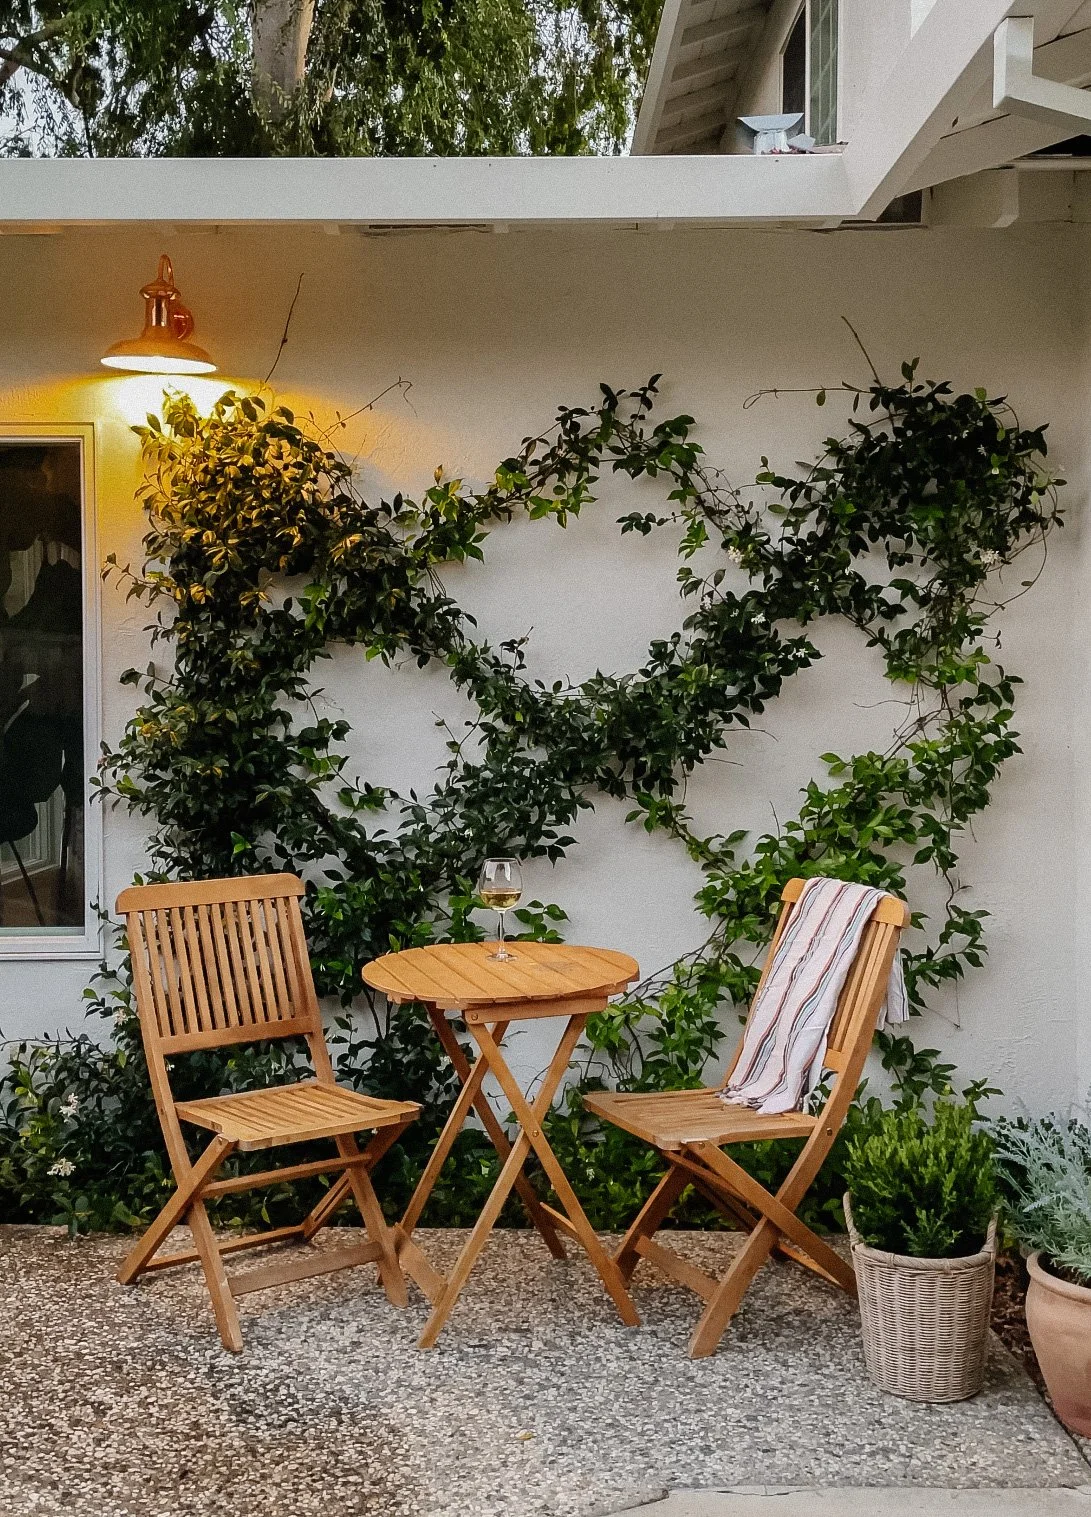
Year two, 2023
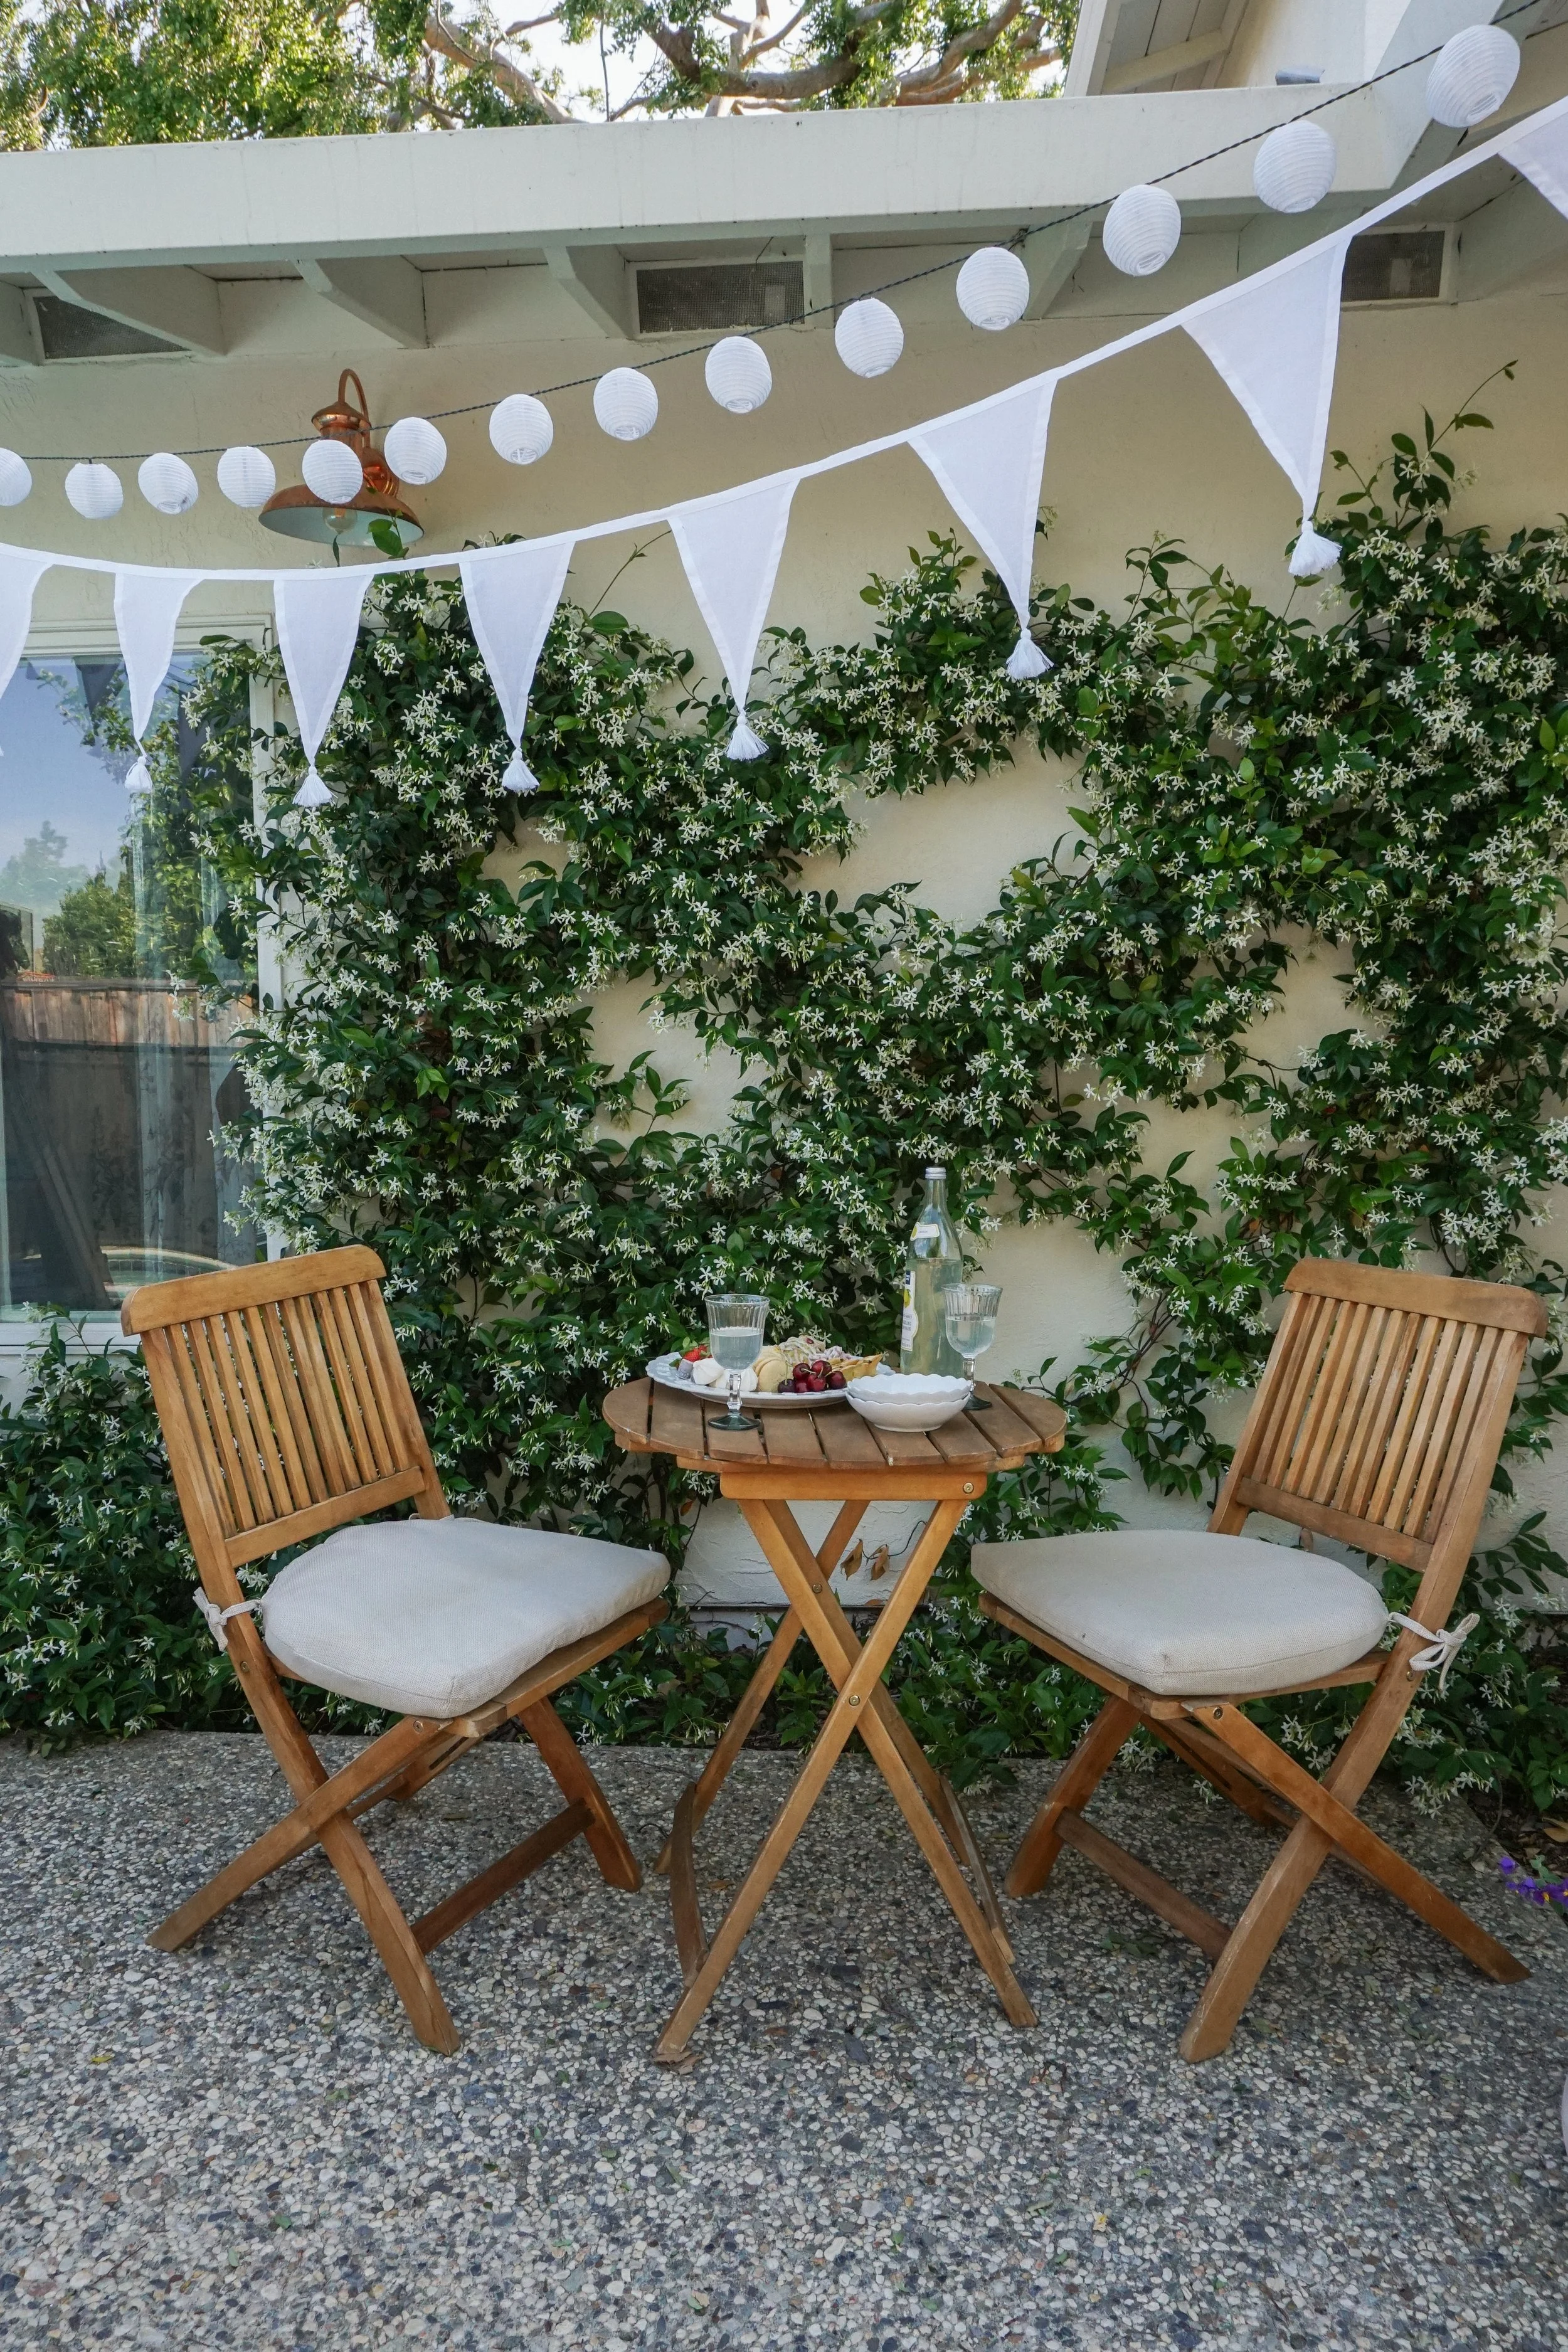
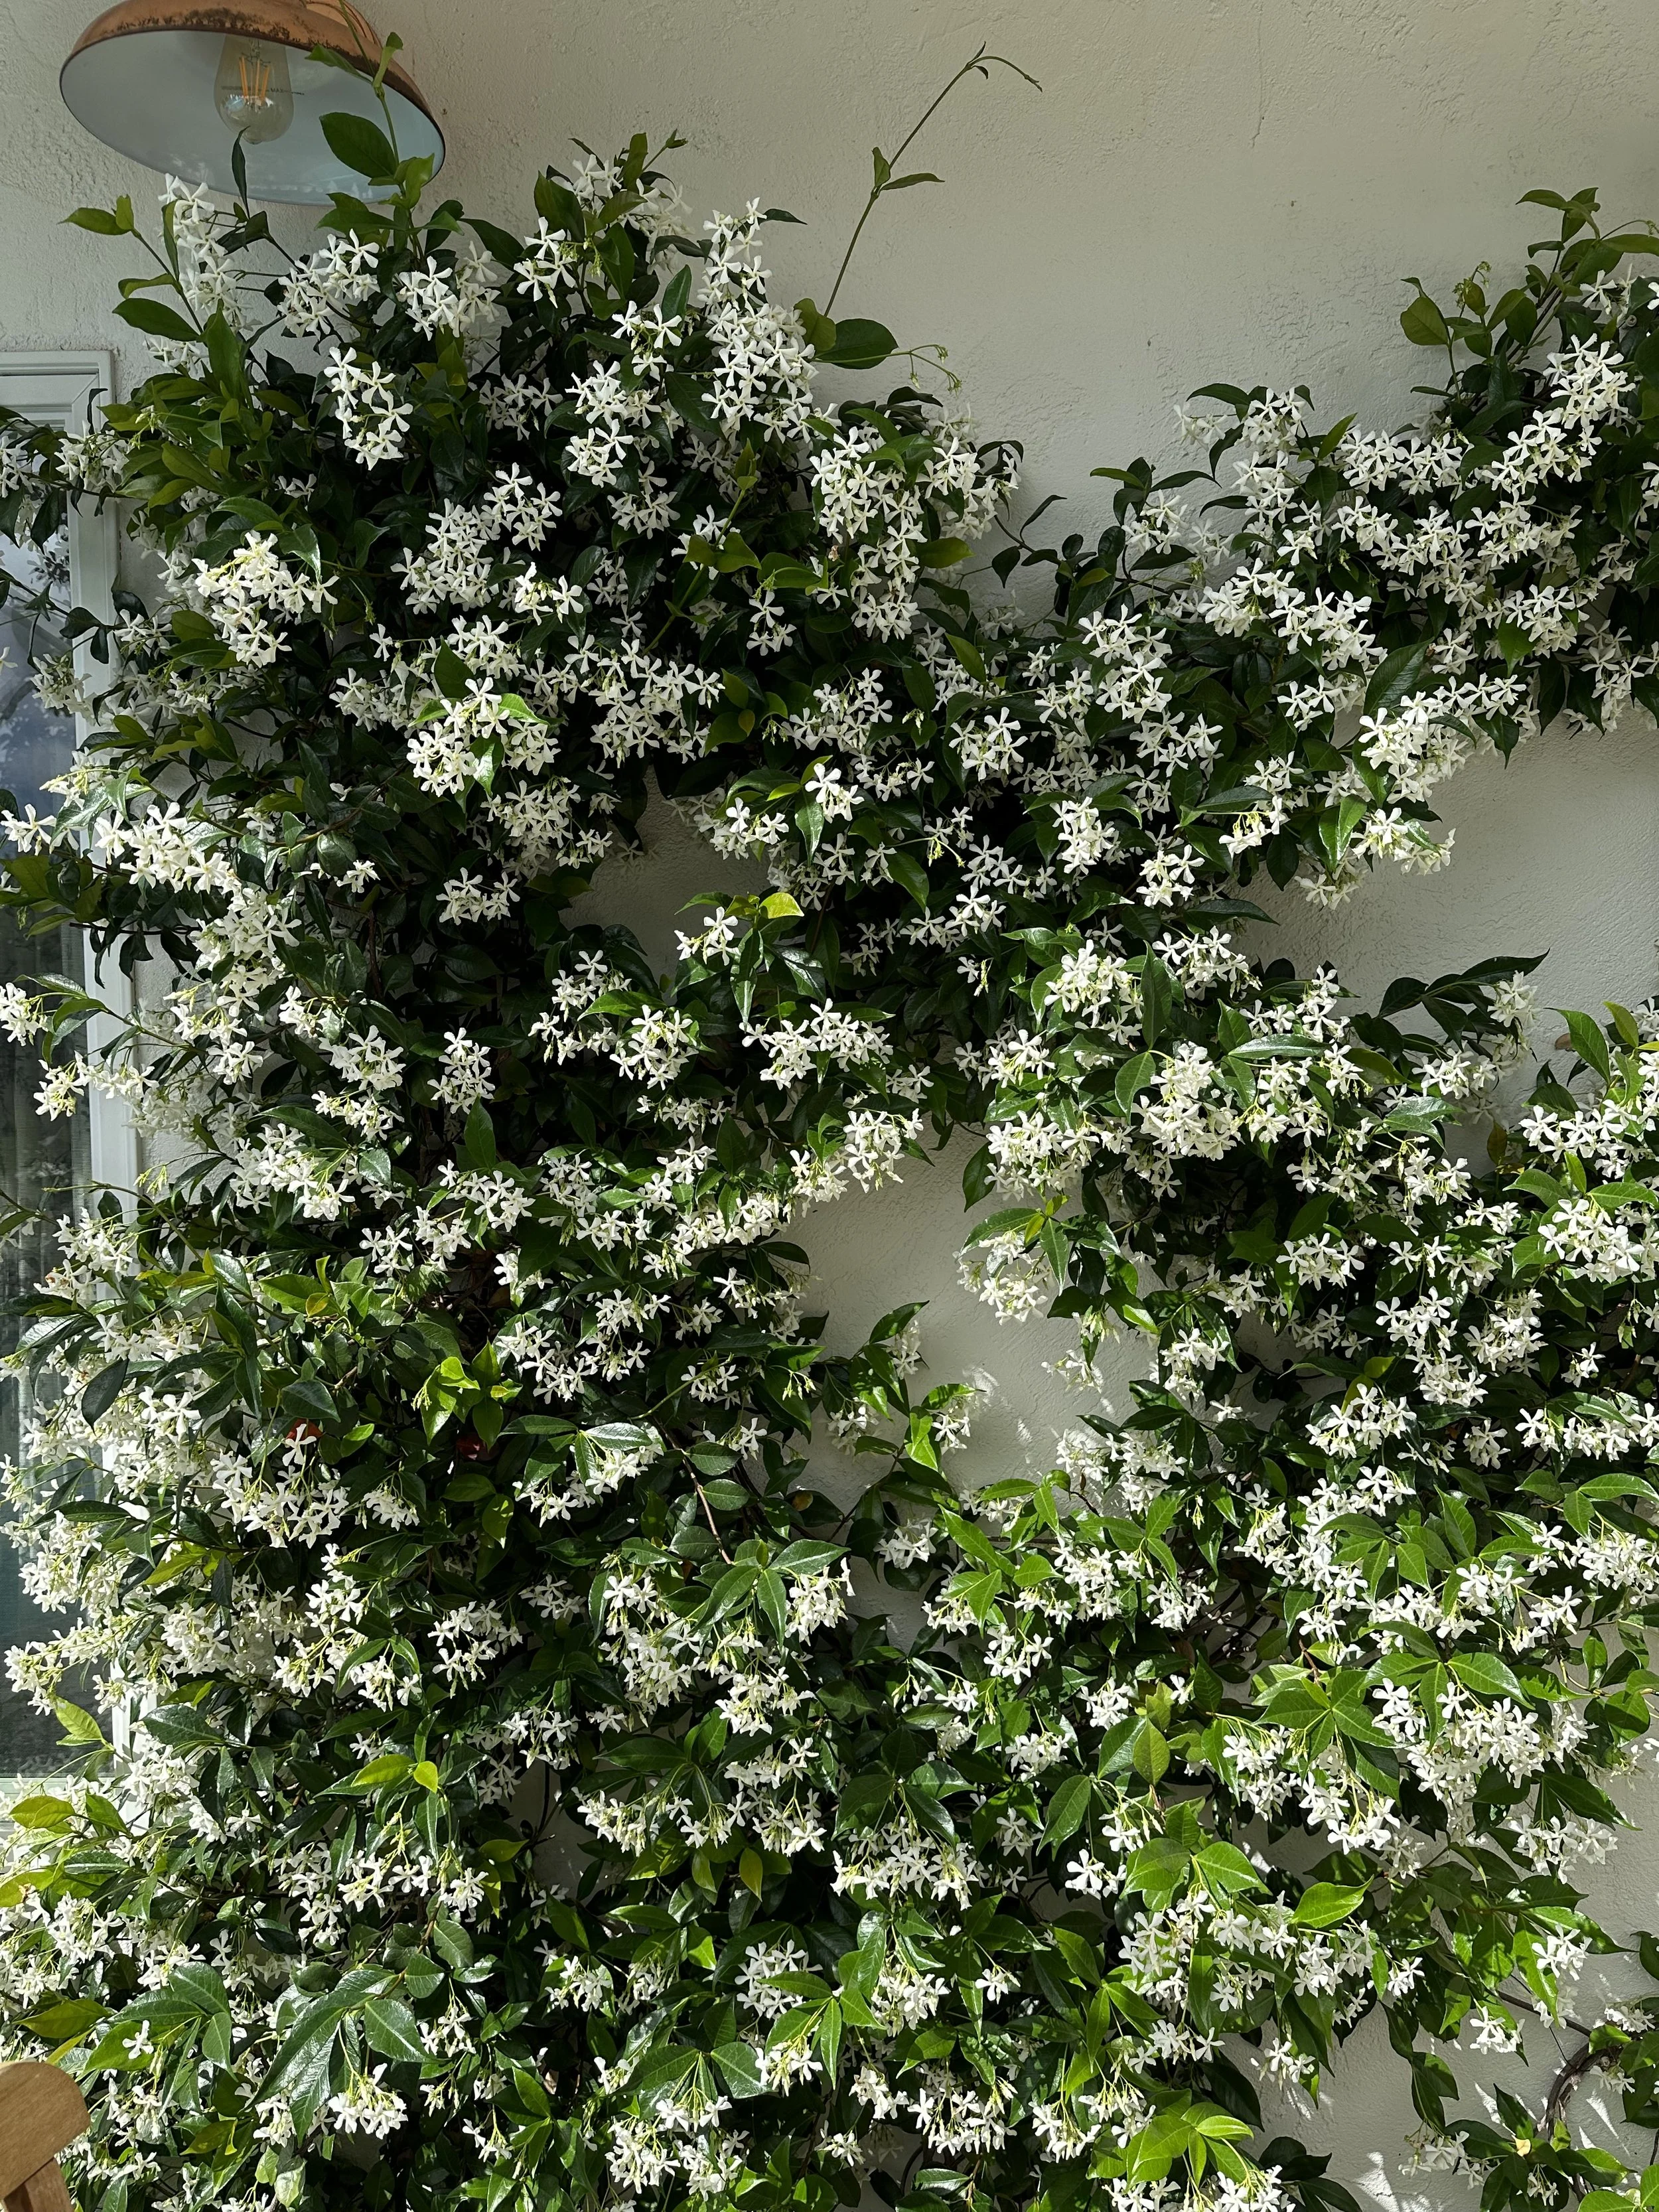
Year three, this is how it looks today, looks so full and beautiful.
In the second year after installing the first trellis wall, I wanted to grow the Star Jasmine on the opposite wall as well. I tried with Jasmine in a pot, but unfortunately, it didn’t go well and it died. The following year, I tried training the Jasmine we already had in the ground to grow around and climb over the second trellis wall, and it was a success.


I also have Star Jasmine in a pot in another area of our backyard, and it grows slower and needs to be watered more often.
All the Star Jasmine around our home was planted by the previous owner, so it was well established before we moved in. We water it every other week during spring and maybe once a week during the hot summer days, but we don’t water it during fall/winter.
I trim it at the beginning of spring to shape the plant, and it blooms beautifully and smells so good!
Star Jasmine around our home.
My dad and husband built this pergola last year, mid summer. I am still training this Star Jasmine to grow around it, but it might take a few more years and lots more pruning to get it into the shape I want. Patience is key, patience is key.

Star Jasmine two years ago before we added the pergola over our garage

Our Star Jasmine growing over the pergola.
I love how the plant looks here, overflowing.

Star Jasmine on the front of the house.

This picture is not recent; the Star Jasmine has barely grown in two years. It usually loses almost all its leaves because the afternoon sun can get intense on this side of our backyard. I need to find a way to help it grow, but unfortunately, we have pool equipment on that side, and there are water and electrical lines underground where the two planters are located.
Now lets answer some of your FAQ
Q: Do you water it daily or do you have drip irrigation?
A: I don’t water it daily since these plants are well established. This is a hardy plant, and from my experience with our hot and dry summers, it is drought tolerant. I water it every other week or less, depending on the weather. I don’t water it in fall/winter or early spring. However, for the Jasmine we have in planters, I need to water it once a week. I am planning on installing a drip irrigation system so I don’t forget, similar to the one I have for our porch planter.
Q: Would this be safe to do on wood siding?
A: I think it may need more monitoring and pruning with this type of trellis wall. You want to make sure it only grows on the wire. Like all vines, it will find a way to get into cracks if you let it.
Q: What does it look like in the colder season? Do you just leave it as is or do you cut it back?
A: Since it is an evergreen, it stays green in the colder season. The green turns slightly darker, but it doesn't lose foliage, and if it does, it’s minimal. I don’t have to cut it back, but I might need to prune it from time to time because it continues to grow year-round, just more slowly.
Q: How much sun does the Jasmine get?
A: We have our Jasmine in different areas of our home. The main wall with the trellis faces east, so it gets morning sun. We also have it in the front of the house by the garage with the pergola, which gets harsh afternoon sun, but even then, it is doing great. Ideally, you want the Star Jasmine to have at least two hours of sunlight a day.
Q: Have you noticed any damage to the exterior?
A: Not on the walls, but if I let it grow too much, it can get into the eaves, and if I don’t prune it, it might cause damage over time.

Creating a trellis wall for our Star Jasmine has been a rewarding and transformative project. This simple and budget-friendly DIY not only enhances the aesthetic appeal of our backyard but also provides a lush, green backdrop that gets better with time. By following these easy steps and tips, you can achieve a similar look in your own garden, no matter your experience level. Whether you’re working with established plants or starting fresh, this project offers a beautiful and practical solution to elevate your outdoor space. Happy gardening